diy bug netting

Trust me, you need it.
Sure, you could buy custom bug netting, but what’s the fun in that? One AdVANture at a Time and Vantastic Media were invaluable resources when I made our bug netting. Here’s how I did it:
I could have bought bug netting, Velcro, and magnets, but based on what AdVANture and Vantastic said, it seemed easier to just buy premade bug netting and cut it to size.
I held it up to the doorways and used painter’s tape to mark where to cut. If I did it again, I’d use chalk; the painter’s tape didn’t stick well and it was hard to be exact with the curves.
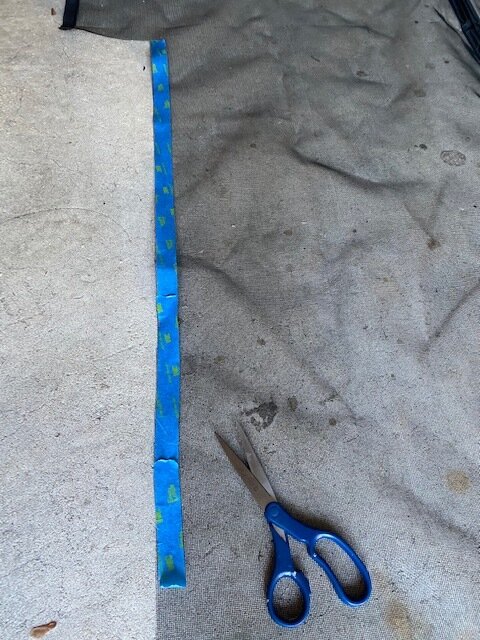
Trimming the netting is a multi-step process, especially getting all the curves right. There was a lot of cutting, then running back to the van to hold it up and see how it looked, then cutting it a little more. Save everything you cut off, especially the Velcro and plastic edging — it’ll all come in handy later.

Not gonna lie to you, the corners were a pain in the ass.
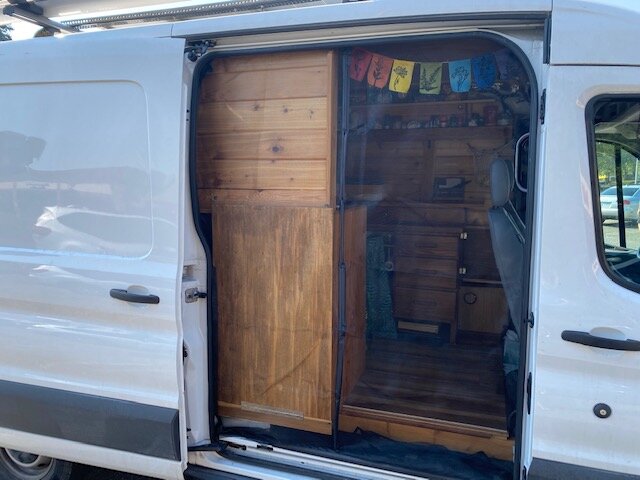
The sliding door was easier, because the bug netting was wide enough to span the entire opening. All I had to do was cut it to fit the shape of the door and then trim off the excess from the bottom.

Cutting the net to fit around this handle would have been really time-consuming, and since we needed to get on the road, I just left it like this. It’s actually worked fine so far, but I’ll probably try to improve upon it for Season 2.
Once the net was the right shape and size, I sewed the Velcro and plastic back around the edges.

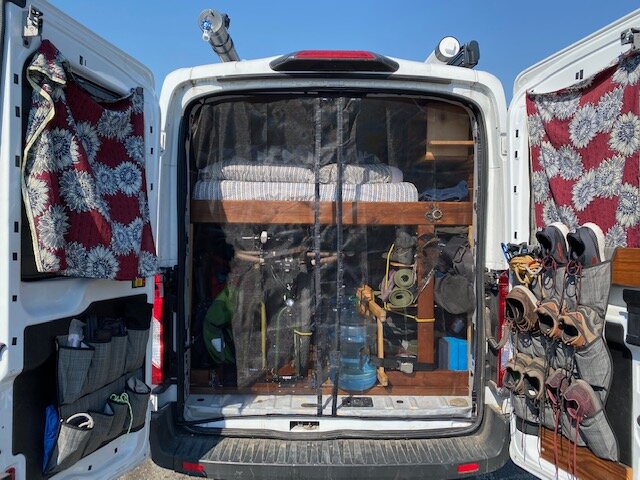
The back door was wider than the netting I bought, so I used the excess length to make up the difference. I figured when the netting was up we wouldn’t need to get into the back, so I removed the magnetic strips from the middle and sewed it all together to one solid piece. I reused the magnets at the bottom of the netting so it would sit flush against the floor of the opening. If I had it to do over again, I’d keep the magnetic strip down the middle — we’ve totally had to get into the back while the bug netting was up.

I sewed the netting by hand, and it took 100 years. If you know how to use a sewing machine, I bet it’s a lot easier. I also reinforced the edges with an iron-on hem adhesive.

The final step is to apply the other side of the Velcro to the inside of the door. I only did this on the sides and the top of the doorways. The magnets on the bottom of the back netting work great. For the sliding door, i sewed some weights into the bottom that work well enough, but for Season 2, I’ll probably sew some magnets into that one too. Surprisingly, even in the blistering heat of the deserts we’ve been through, the adhesive on the Velcro has held up.

Voila! DIY bug netting!
One last note: You have to be careful when you’re closing the doors with bug netting up. You could cut really carefully around everything that protrudes along the doorway… or just move the netting out of the way when you close the doors.