solar stuff (a hopefully not-overwhelming guide)
There are so many #vanlife videos out there where some well-meaning dude named Mason says he’s gonna explain his electrical system but then gets bogged down in a high school physics lesson. “Before we get started, I’m gonna, like, spend 10 minutes rambling about the difference between direct and alternating current.” And I’m like, “Mason, all I wanted to know was how to screw in my solar panels.”
So! I’m going to try to give you a no-nonsense overview of what you need to know. You’ll need other resources because duh, there is no such thing as the one definitive resource for off-grid electrical systems. Here are a few we found really helpful:
This Bound for Nowhere video was a game-changer.
This Parked in Paradise calculator was essential.
Remember when I said there’s no such thing as the one definitive resource for off-grid electrical systems? This Far Out Ride guide comes pretty close.
What parts do I need?

Up on the roof:
We bought our solar panels in a kit that also came with mounting hardware, wires, and a charge controller. The number of solar panels depends on how much power you need.
2 metal rack rails (to mount the panels on)
4 square-head M8 bolts and locknuts (to attach the rails to the TracRac)
2 pairs of MC4 parallel branch connectors ( to wire the solar panels together; you need one pair for every additional solar panel)
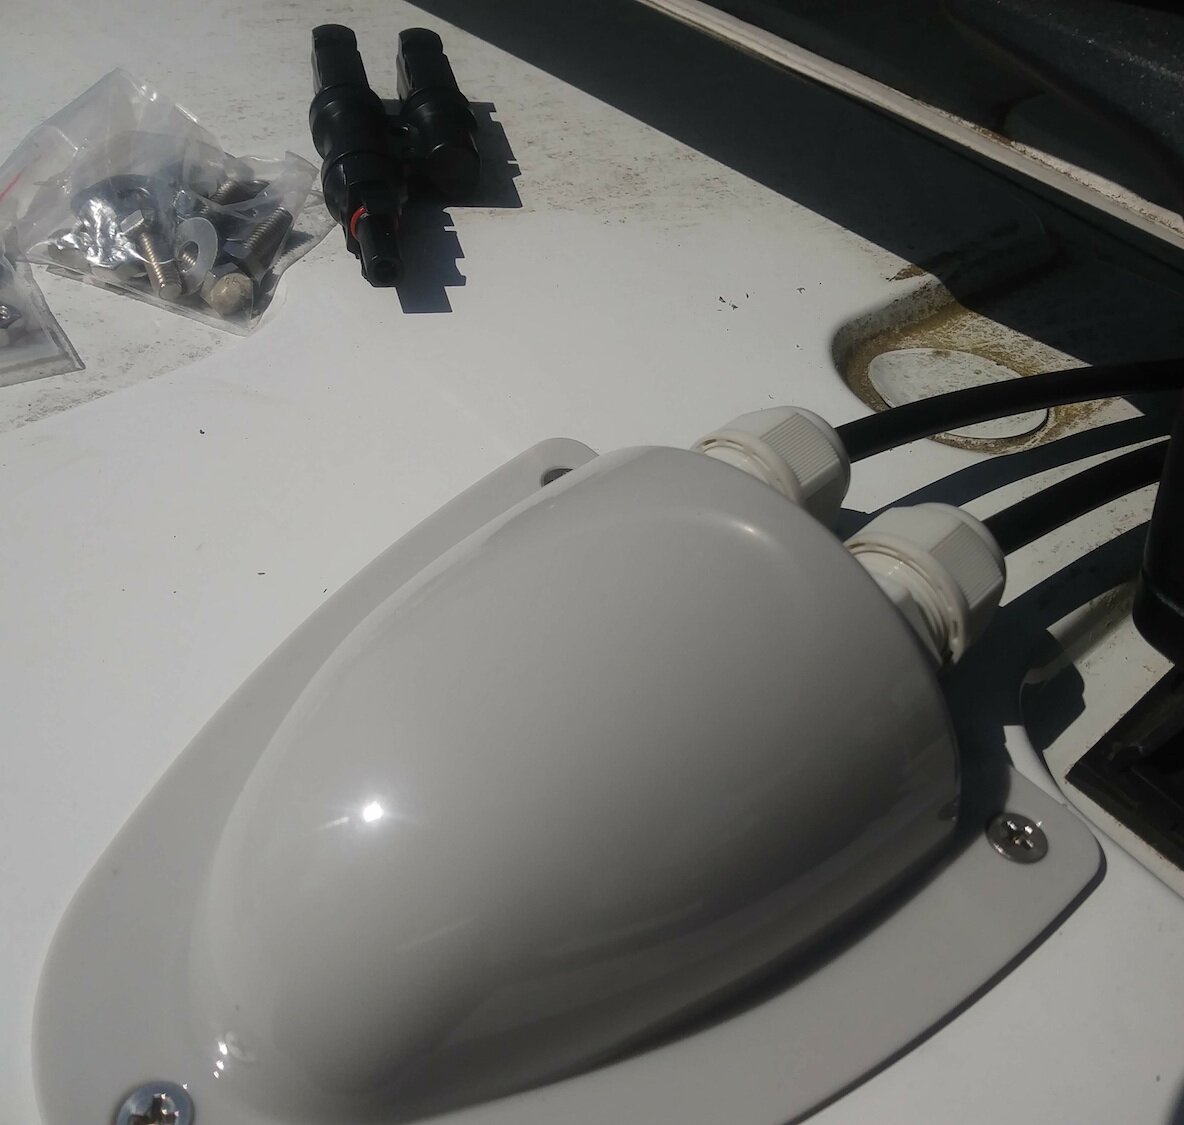
*Robot binoculars (It’s actually called a “gland,” but that word is gross. Robot binoculars keep rain from seeping into the van through the wire holes. You don’t have to use robot binoculars per se, but you do have to do something to prevent seepage [another gross word].)
In the van:

Leisure battery (not to be confused with the van battery)
You’ll need at least one set of battery cables with ring terminals, plus one extra cable to be your grounding wire, and more if you want fancy stuff like a battery monitor or combiner. 4 gauge wire is usually fine for a simple 12-volt DC system; you might want 2 gauge if you have a lot of electronics.
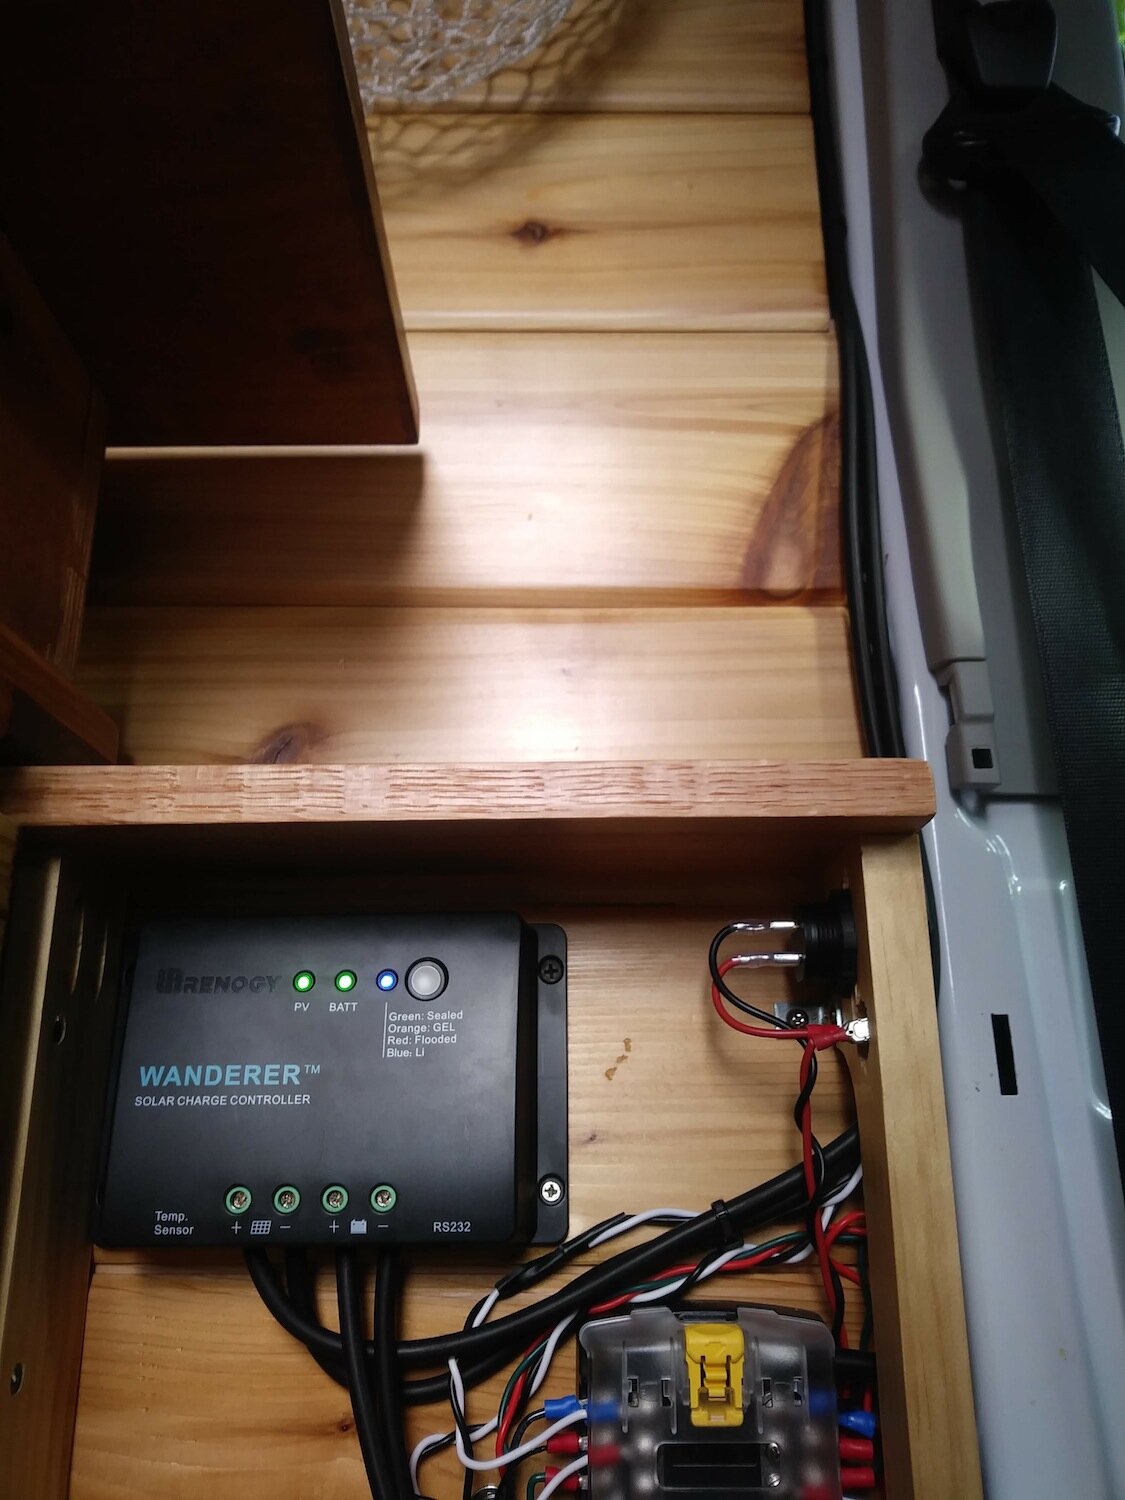
Solar charge controller (this device ensures efficient use of solar energy and prevents overcharging)
Fuse block (the hub for your electrical system, where all the wires connect.)
You’ll also need ring terminals, positive/negative wire, and fuses to match your individual appliances — as in, the same gauge wire and terminals and fuses that match the amp draw.
You could get away with using a voltmeter instead, but this snazzy device tells you the voltage of both your batteries, amps expended, historical trends, and more, all in an easy-to-read app on your phone. “Shit’s expensive but for a good reason,” in Doug’s words.
Also optional but helpful. This li’l guy connects the leisure and van batteries so if one is running low, the other one charges it.
What kind of battery do I get?
Here’s a quick rundown. The prices are general estimates for a 100 amp hour battery.
Lead acid: Cheap (~$200) but only lasts like 3-5 years.
AGM: Also cheap (~$200-300), but big and heavy, and they crap out after like 5-8 years.
Lithium ion: Expensive (~$1000), lightweight, last longer between full charges, and they have a 10-year lifespan.
What do I need to know about amp hours?
You’ll see this number in the description when you research batteries — ours is 100Ah. Basically, the more/bigger appliances you have, the more amps you’ll need to power your system. Most of the systems we’ve researched fall within the 100-200Ah range.
To calculate what Ah battery you should get, use this calculator from Parked in Paradise.
You’ll list your appliances, entering the maximum amp draw (listed in the manual or on the appliance itself) and estimating how many hours you’ll use them (overshoot this number, just to be safe.)
What do I need to know about voltage?
Beats me, man. We kept things simple and only bought appliances that run on a 12-volt DC system.
DC?
Yeah, see, I got caught up in trying to understand AC versus DC, and that knowledge never actually came in handy. All you need to know is you can’t run an AC appliance on a DC system without a device called an inverter. We have a little one that plugs into the cigarette lighter of the van so we can charge our laptops while we’re driving. Between that and recharging our laptops when we stop at diners and stuff, we’ll just suck it up and make it work. Part of the appeal of van life is getting away from stuff like computers and TVs.
Watt’s up with watts?
Again, I would like to direct you to the Parked in Paradise calculator.
Basically, when you’re calculating how many solar panels you need, make sure you have enough watts to support the amp load of your setup.
How do I connect everything to the roof?
Start by getting a roof rack. The two big players in the roof rack game are Yakima and Thule. Doug went with the Thule TracRac.
Sidebar: Funny story
We started to regret that decision when it came to how exactly we mount stuff on it. Yakima sells a clamp for $60, but it’s not compatible with Thule. And Thule sells load stops, but they only provide lateral restraint.
So we’re researching and brainstorming over morning coffee, and then Doug disappears, comes back with a load stop, and unscrews this bolt:
“What if we just used this?”

These are square-head M8 bolts. $1.50 in the spare parts section on the Thule website or $5 on this website. It’s not easy to order these things — possibly because Thule realizes it’s a $1.50 solution that their competition is charging $60 for… or possibly because they don’t realize it. Either way, get like 6-10 of these things. They’re really useful.
The next step is attaching the solar panels to the rails. Align the holes in the rails and panels and bolt them in. If you have more than one solar panel, attach the connectors to the wires. Keep the wires from flapping around in the wind by zip tying them together neatly.

Get a couple friends and hoist the whole setup onto the roof. Slide the M8 bolt into the TracRac and up through the railing, and then top it off with an M8 nut. We also used a couple of washers between the TracRac and the rails to give the panels a slight tilt so rain doesn’t pool on them.

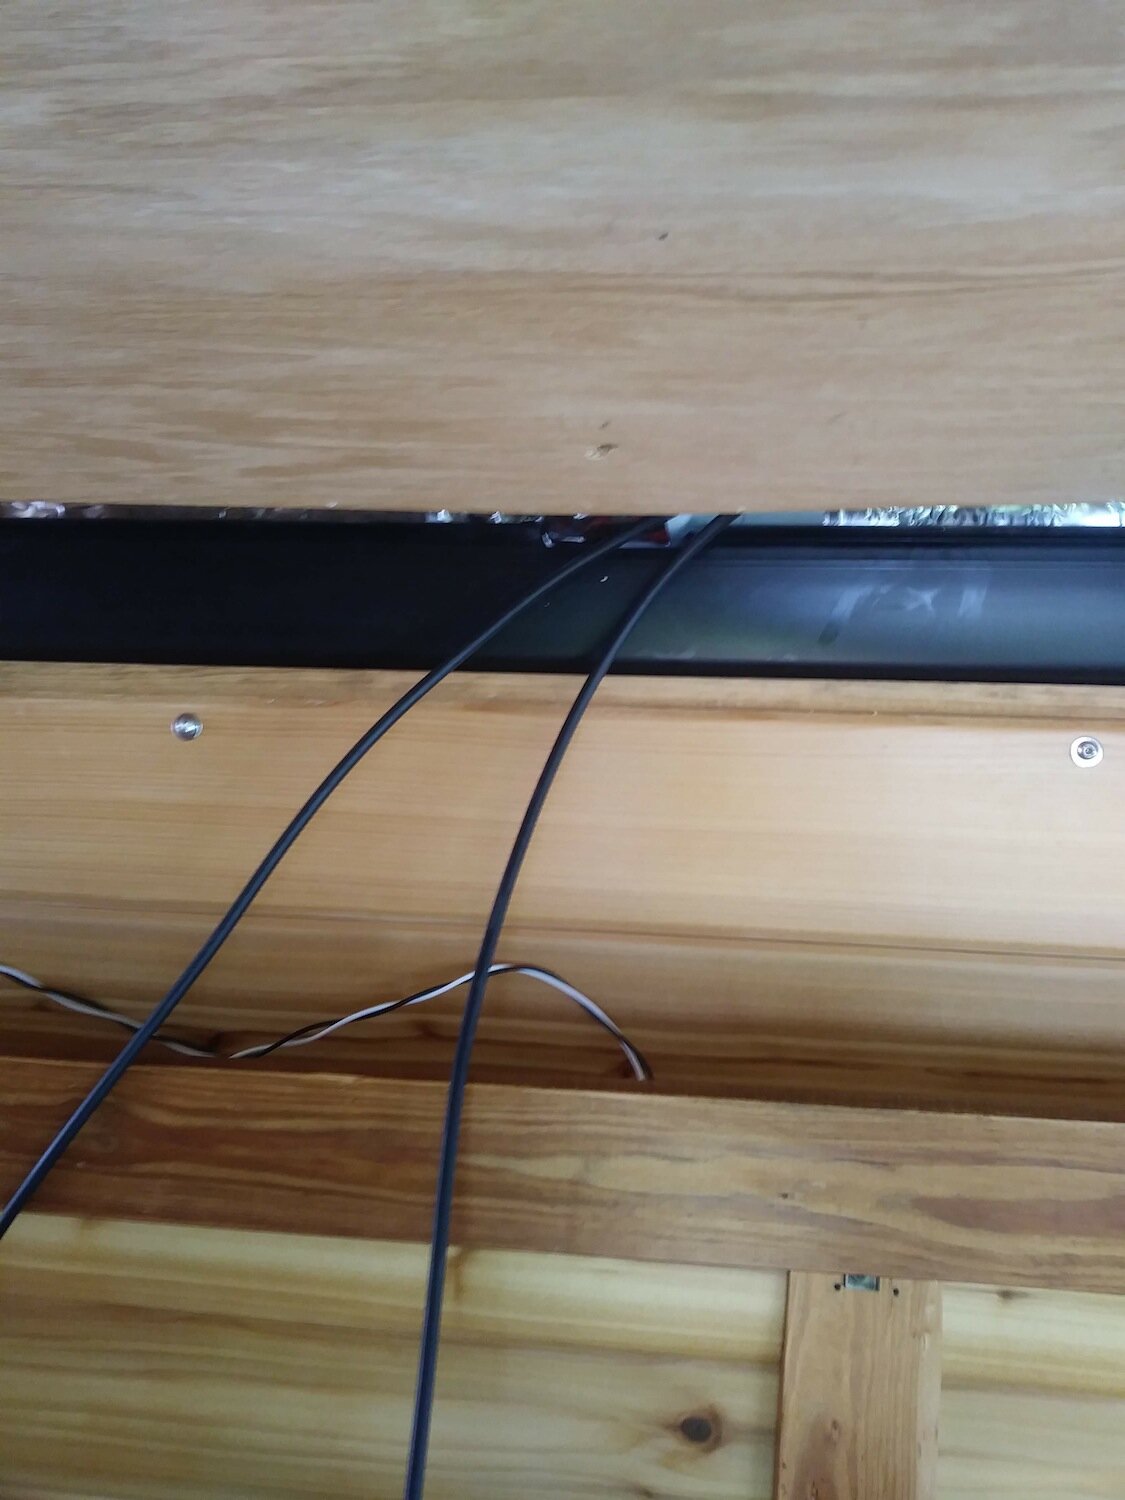
Next, you’re going to drill a hole in the roof where you want the wires to go down into the charge controller (more on that in the next section). Sand the edges of the hole so it doesn’t cut up the wire. Next, feed the wires through the robot binoculars and through the hole. Make sure they reach down as far as you want them to. Tighten the robot binoculars to cinch them down, and then mount them to the van. Keep in mind that once you cinch them down, you can’t adjust the wire anymore.
Where do I put stuff down below?
It all revolves around the fuse block. You’ll want to be able to access it easily so you can make a clean wiring effort. Electricity is more efficient the less distance it has to travel, so the fuse block should be near the battery.

Sidebar: One more story
We planned to put the leisure battery under the driver’s seat next to the van battery. We scoured Amazon for a battery that would fit, and thought we’d found it. But when we put it in, there was only ¼” of vertical clearance between the terminals and the solid steel base plate of the Scopema swivel seat. In other words, juuuust enough space that we might be able to make it work… but if we fucked it up, we could kill the battery and possibly ourselves.

That’s a tight fit.
My electrician friend said to put covers on the terminals and wrap them in electrical tape. My solar panel installer friend said putting Flex Tape on the seat bottom and restraining the battery could work… or maybe explode. And my auto mechanic friend said to put some cardboard over the terminals and call it.
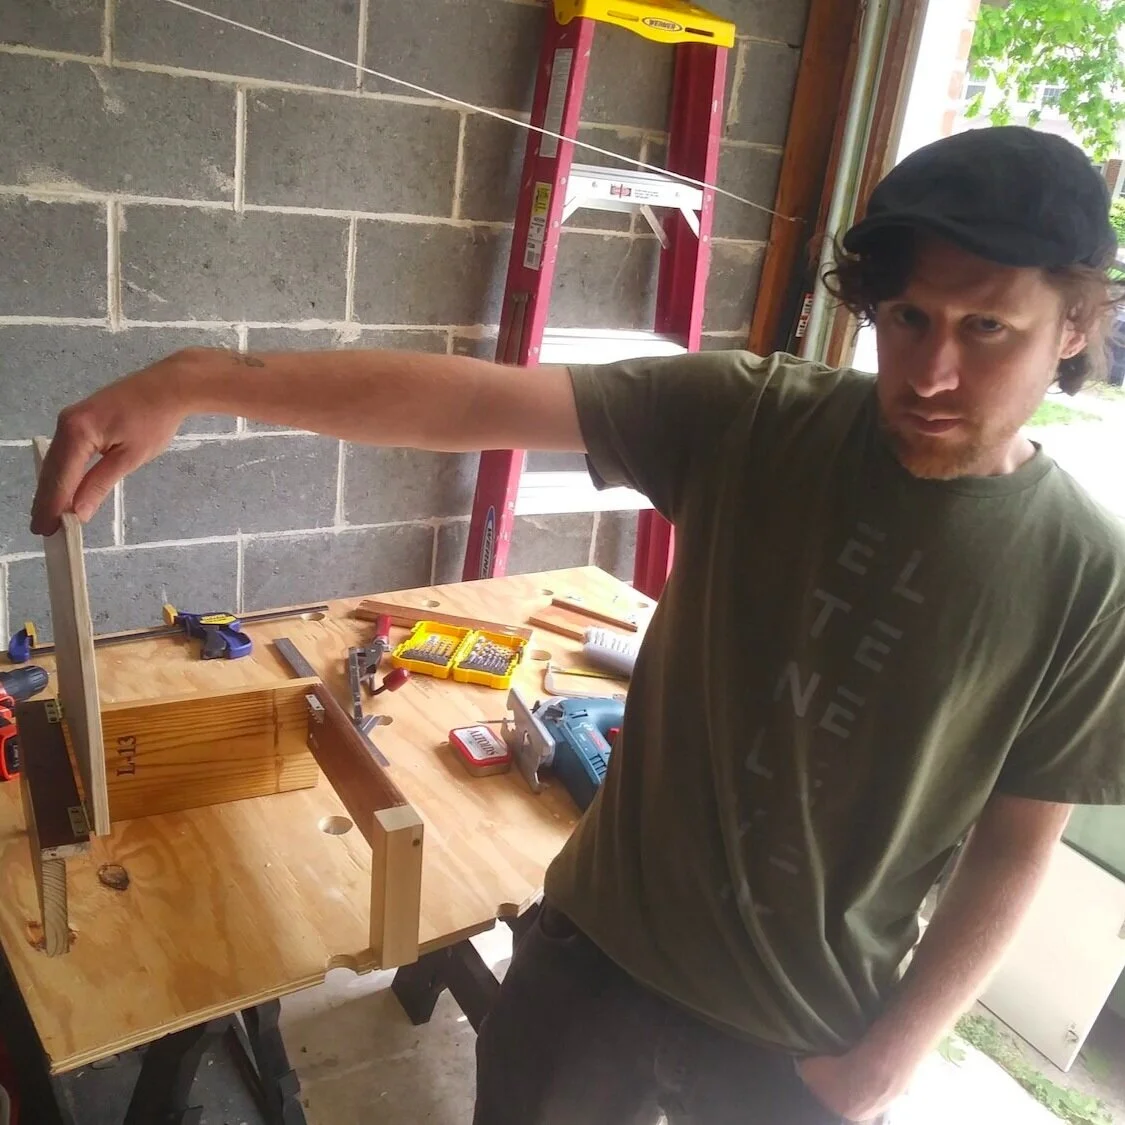
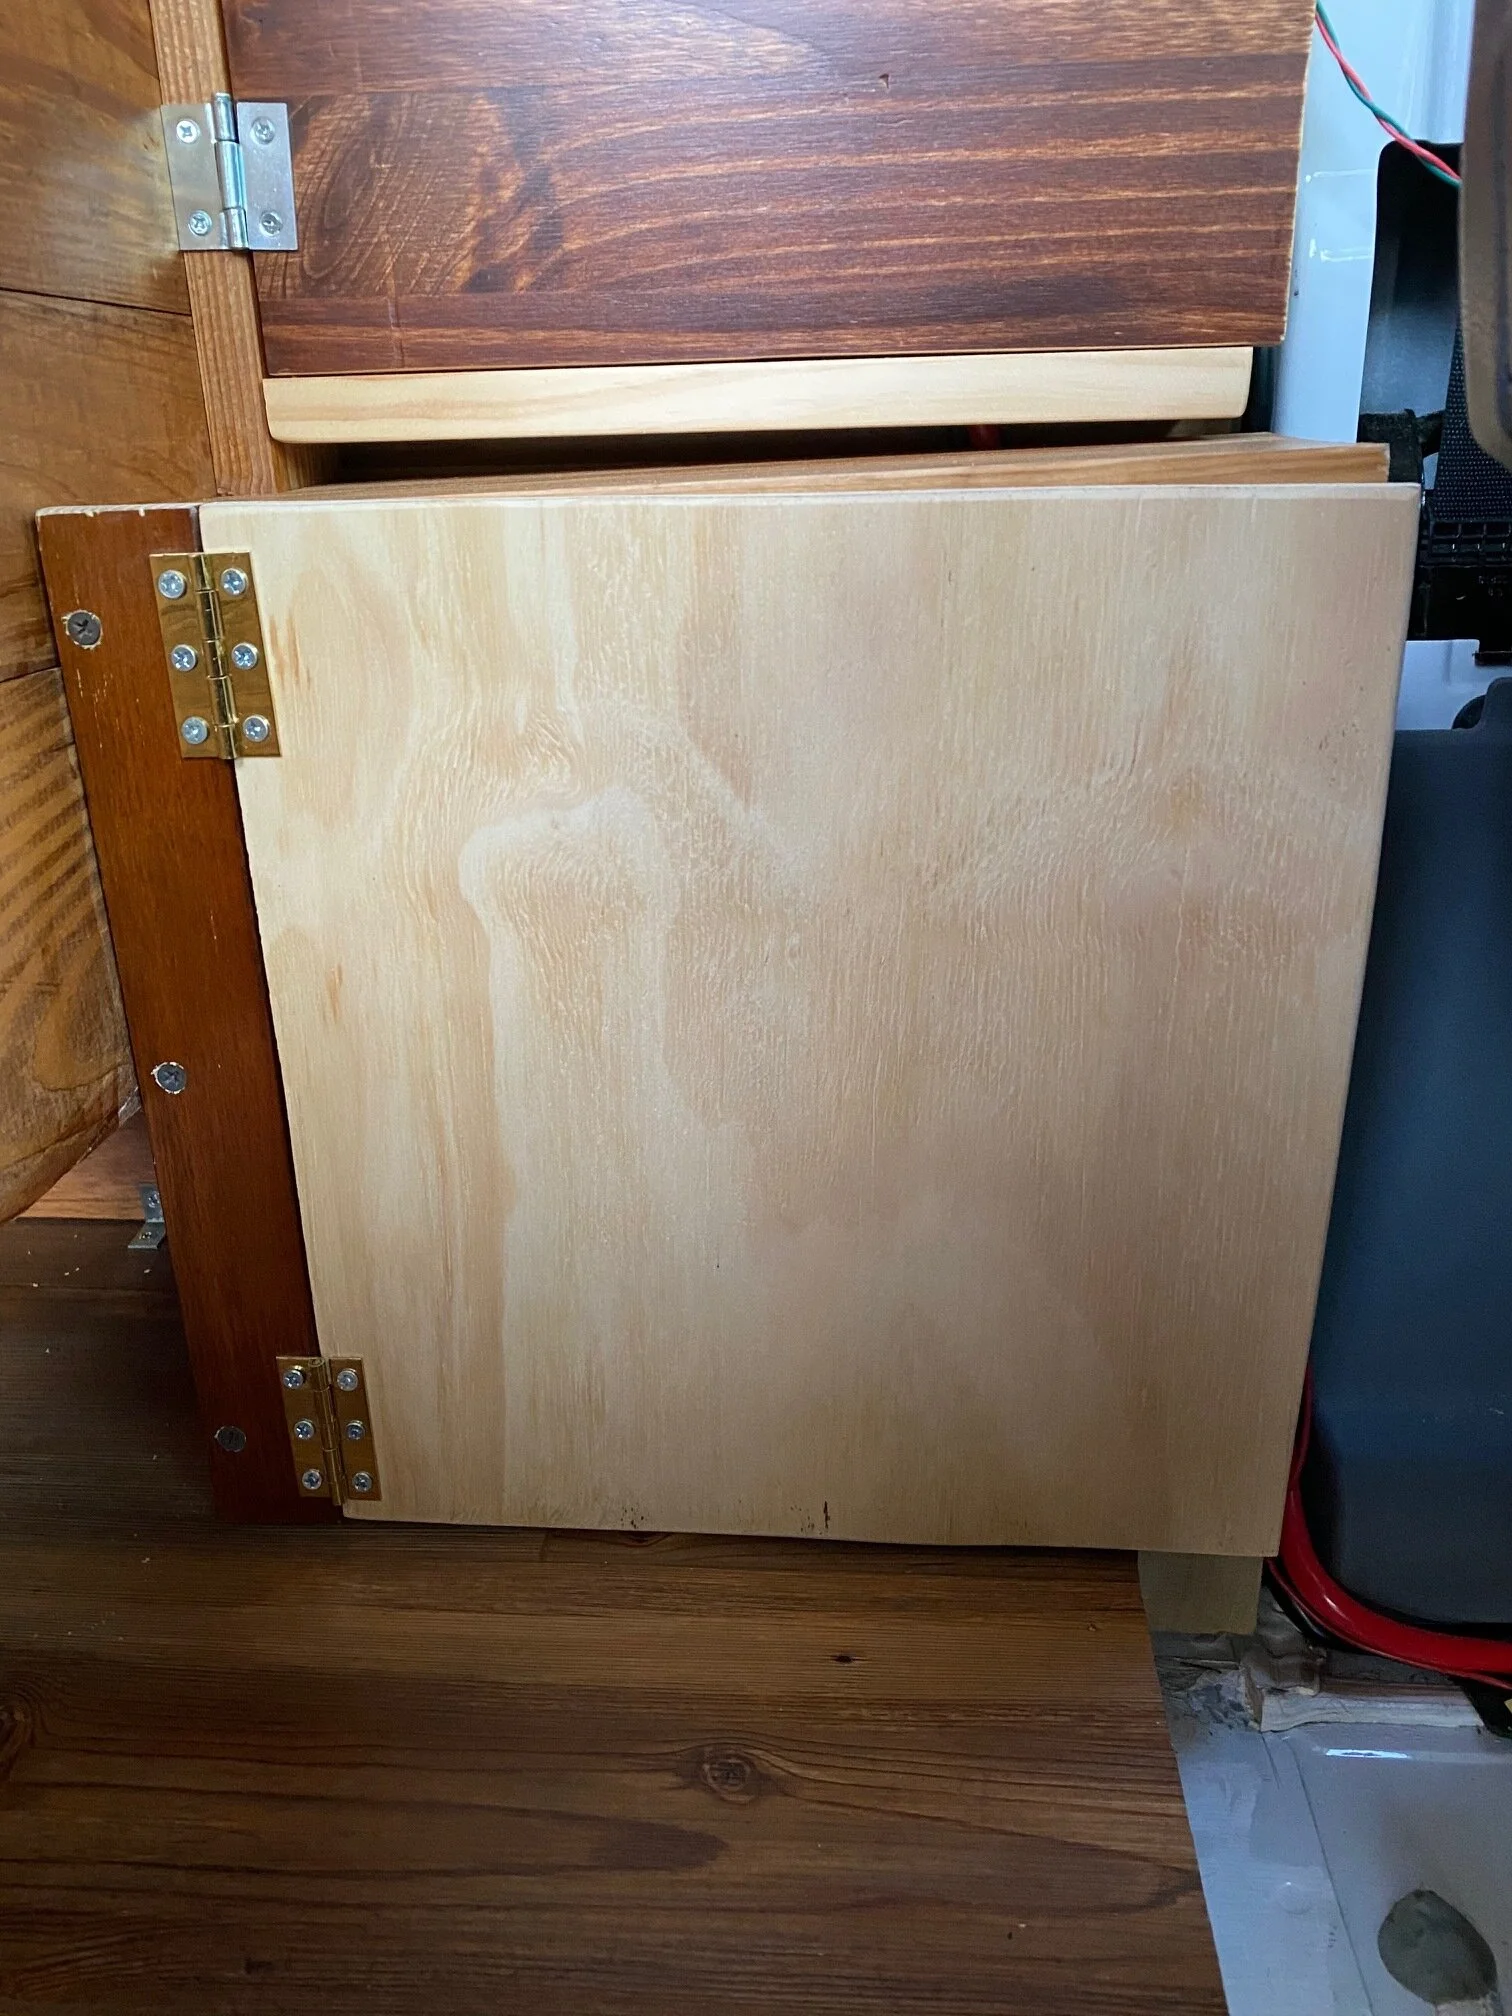
In the end, we just moved the battery outside the seat. We didn’t end up having to sacrifice that much space, and Doug got to make this weird puzzle piece of a battery box.
The Cyrix has to go between both batteries, and the battery monitor attaches with a big nut in the back, so you need to put it somewhere that you can get behind it. Fortunately Doug had installed a couple of floating panels here so we could use this space as a “smuggler’s hold.” Guess we’ll have to find a new place to hide all our drugs! (Just kidding, Ma.)


The Cyrix and battery monitor come with useful installation instructions.
How do I connect the battery?

There are four cables coming off the positive terminal and going to the…
solar charge controller
positive fuse block terminal
positive Cyrix terminal
shunt for the battery monitor
And there are four cables coming off the negative terminal and going to the…
solar charge controller
negative fuse block terminal
shunt for the battery monitor
nearby metal surface on the van (this is called the grounding wire)
The terminals on our battery used simple bolts. Connecting the cables was as simple as unscrewing the battery terminal bolts, stacking the wire terminals over the hole, reinserting the bolt, and screwing it back in.
How do I not die when I’m working with the battery?
Don’t cross exposed wires
Don’t bridge the terminals with anything (especially your hand)
Ground your battery. In the simplest terms, this is connecting the negative wire to the metal part of the van to dissipate extra energy.
Always connect the negative terminal last.
How do I not kill all this expensive stuff?
Before you connect your solar panels, don’t leave them in direct sunlight for prolonged periods of time.
Consider investing in a battery monitor.
If you use a lithium ion battery, don’t let it get below 32 degrees.
Really, seriously, don’t bridge the terminals.
How do I wire my appliances to the fuse block?
It’s safest to disconnect the battery from the fuse block before you wire in your appliances, especially ones with big amp draws.
Some of your DC appliances might have a couple of short wires hanging off them. “How’s this gonna reach all the way to my fuse block?” you might be asking. The answer is: You gotta solder on more wire!
Using the most direct path possible, measure how far the wire needs to run from the appliance to the fuse block. Braid the negative and positive wires together to keep things neat*. Hot tip: You can use a drill to braid wires together**! Just cinch two ends of the wire into the drill, clamp down the other end, and then run the drill.
*Again, only do this with insulated wires, not exposed ones. That probably goes without saying.
**I also hope it goes without saying that you shouldn’t do this with live wires.
Solder on the extra wire and the ring terminals. Then attach the ring terminals to the fuse block. You’ll designate a positive and negative terminal for each appliance, insert a fuse with a matching amp draw into the corresponding slot, and then screw in the ring terminals.
If that sounds complicated, don’t worry; it’s all explained really clearly in the instruction manual for the fuse block.
Do I need a wiring diagram?
Doug: You don’t have to have a compressive wiring diagram before you start building. I’m sure for some people that would give them peace of mind, but we’re just here to serve as proof that you can take it as it comes. I would make sure to have an idea about how you’re going to run your wires from different parts of your van to the fuse block area before you construct walls and/or the ceiling. I ran a conduit through the voids on the left side of the van earlier on because I knew I would be running wires later on in the build. I don’t know how other builds go, but part of how this was even possible was that I didn’t have plans and it was constantly evolving.
Brooke: It’s like writing a book. I didn’t know how my book was going to end when I started. It’s okay to piece it together like a jigsaw puzzle or a quilt.
Doug: I’ve definitely gotten frustrated plenty of times — you’ve seen me plenty of times running into an issue that I didn’t see coming. … But if I was trying to follow my plans, there’d be a lot of wasted time trying to constantly modify the plans. If I would give advice to anyone, just take your time with it. I’ve had fun with it.
Brooke: Yeah, trust that things will work out as they should.
(psst, secret message for everybody who read this far: writing this post was time consuming and research intensive. thank you so much for reading!)