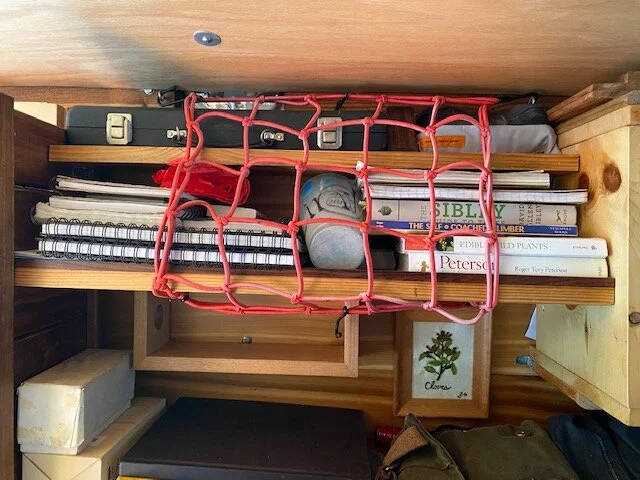
shelves
Doug says: It was interesting to watch other videos and see what other people’s priorities were, y’know? There’s people that need their surfboards in their vans, there’s people that need — I saw a van with two people living out of it and they had two desktop monitors. If you’re a social media person, you need drones. Stuff like that. All throughout your build, you have a list of priorities. For my van — and then our van — the priories went like this:
have our own style
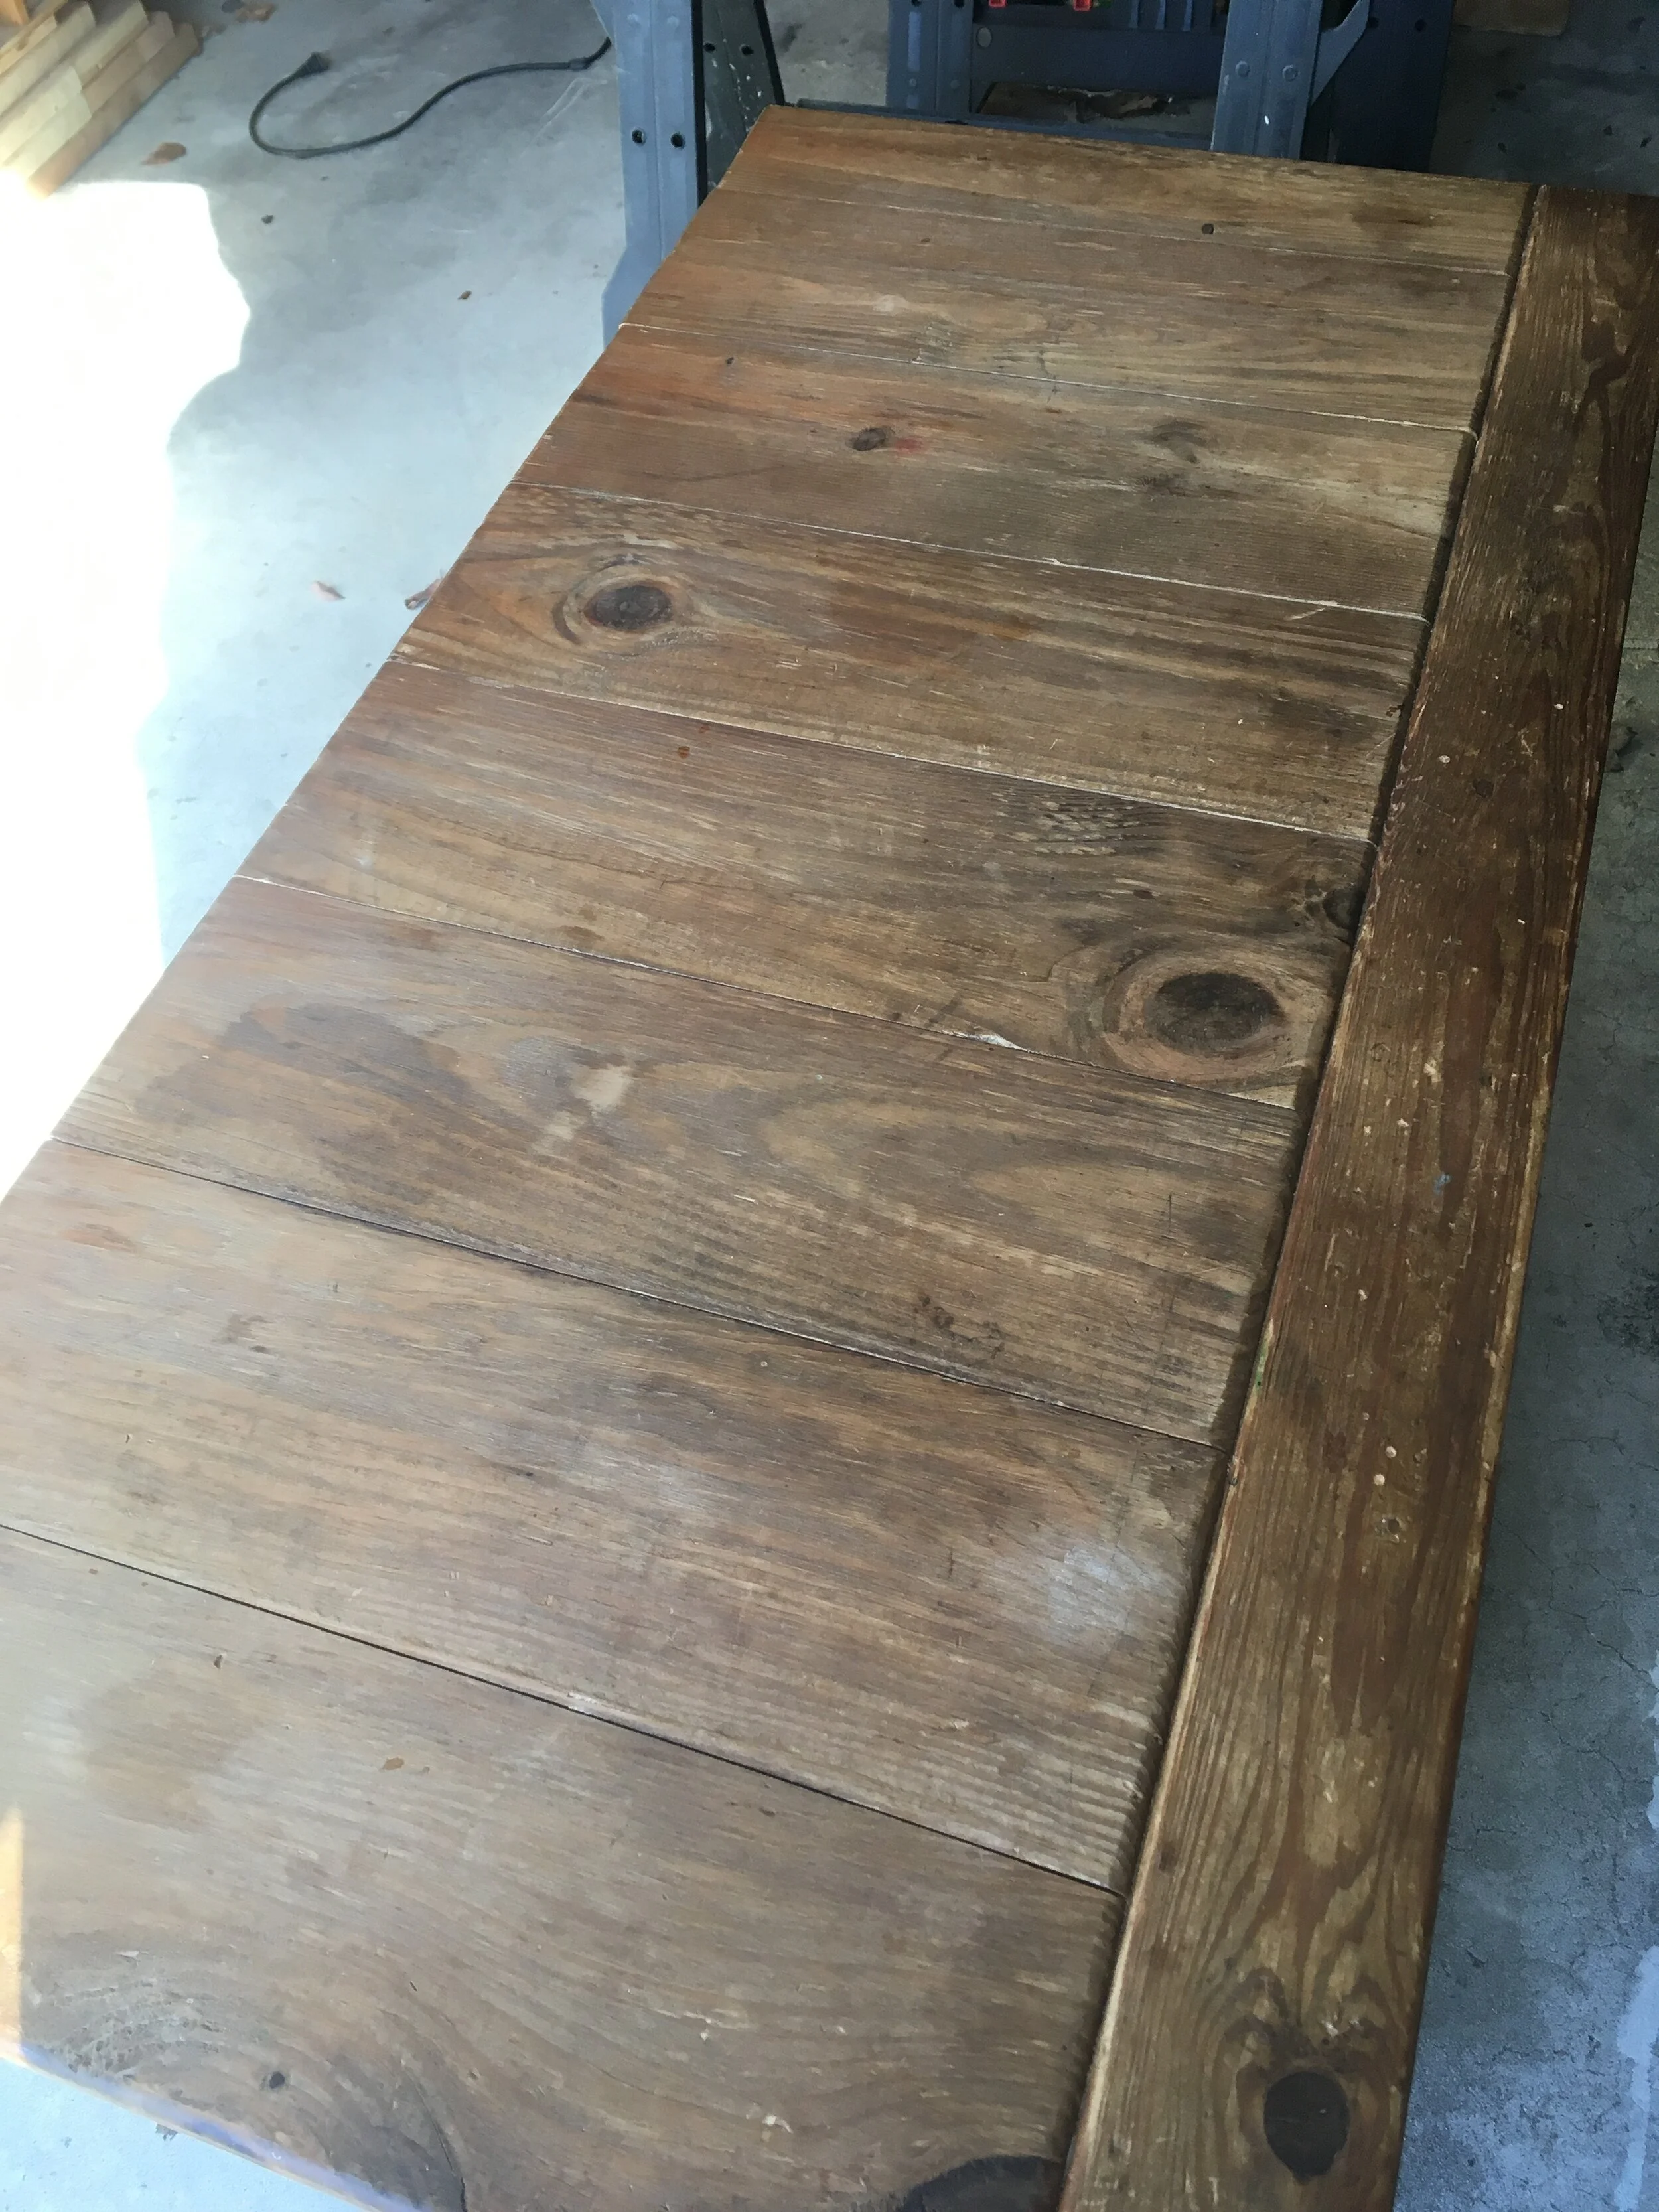
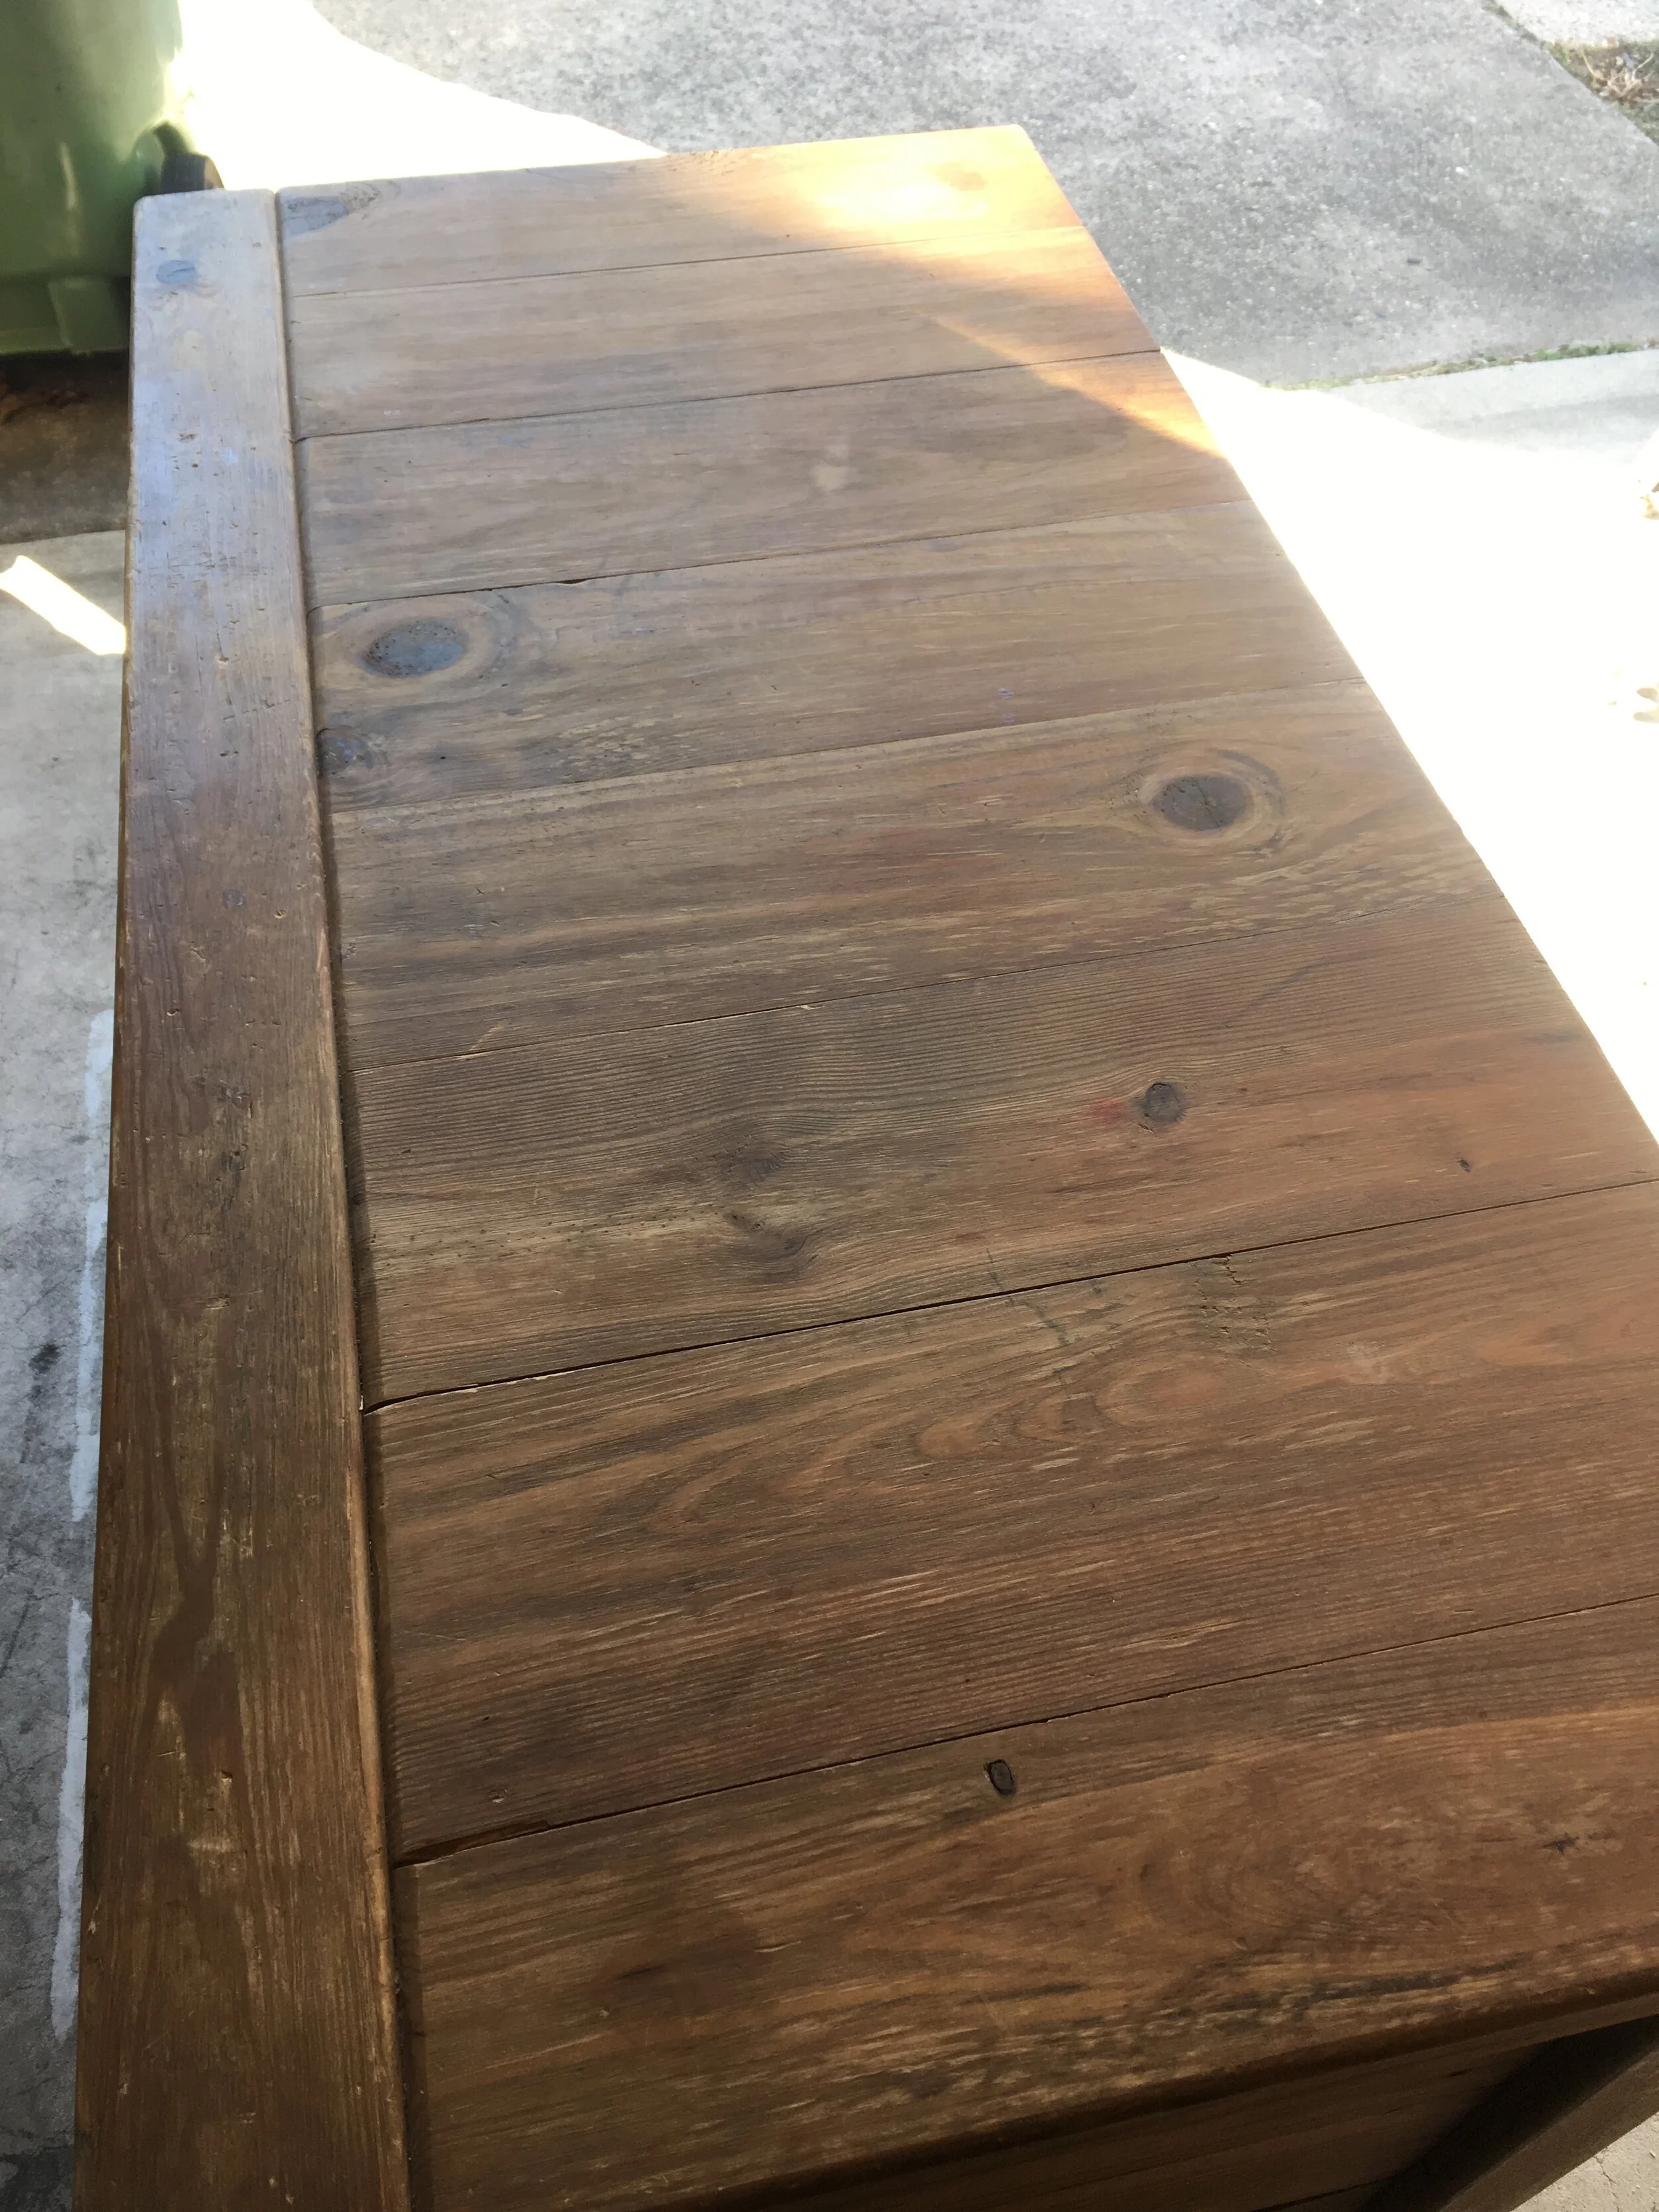
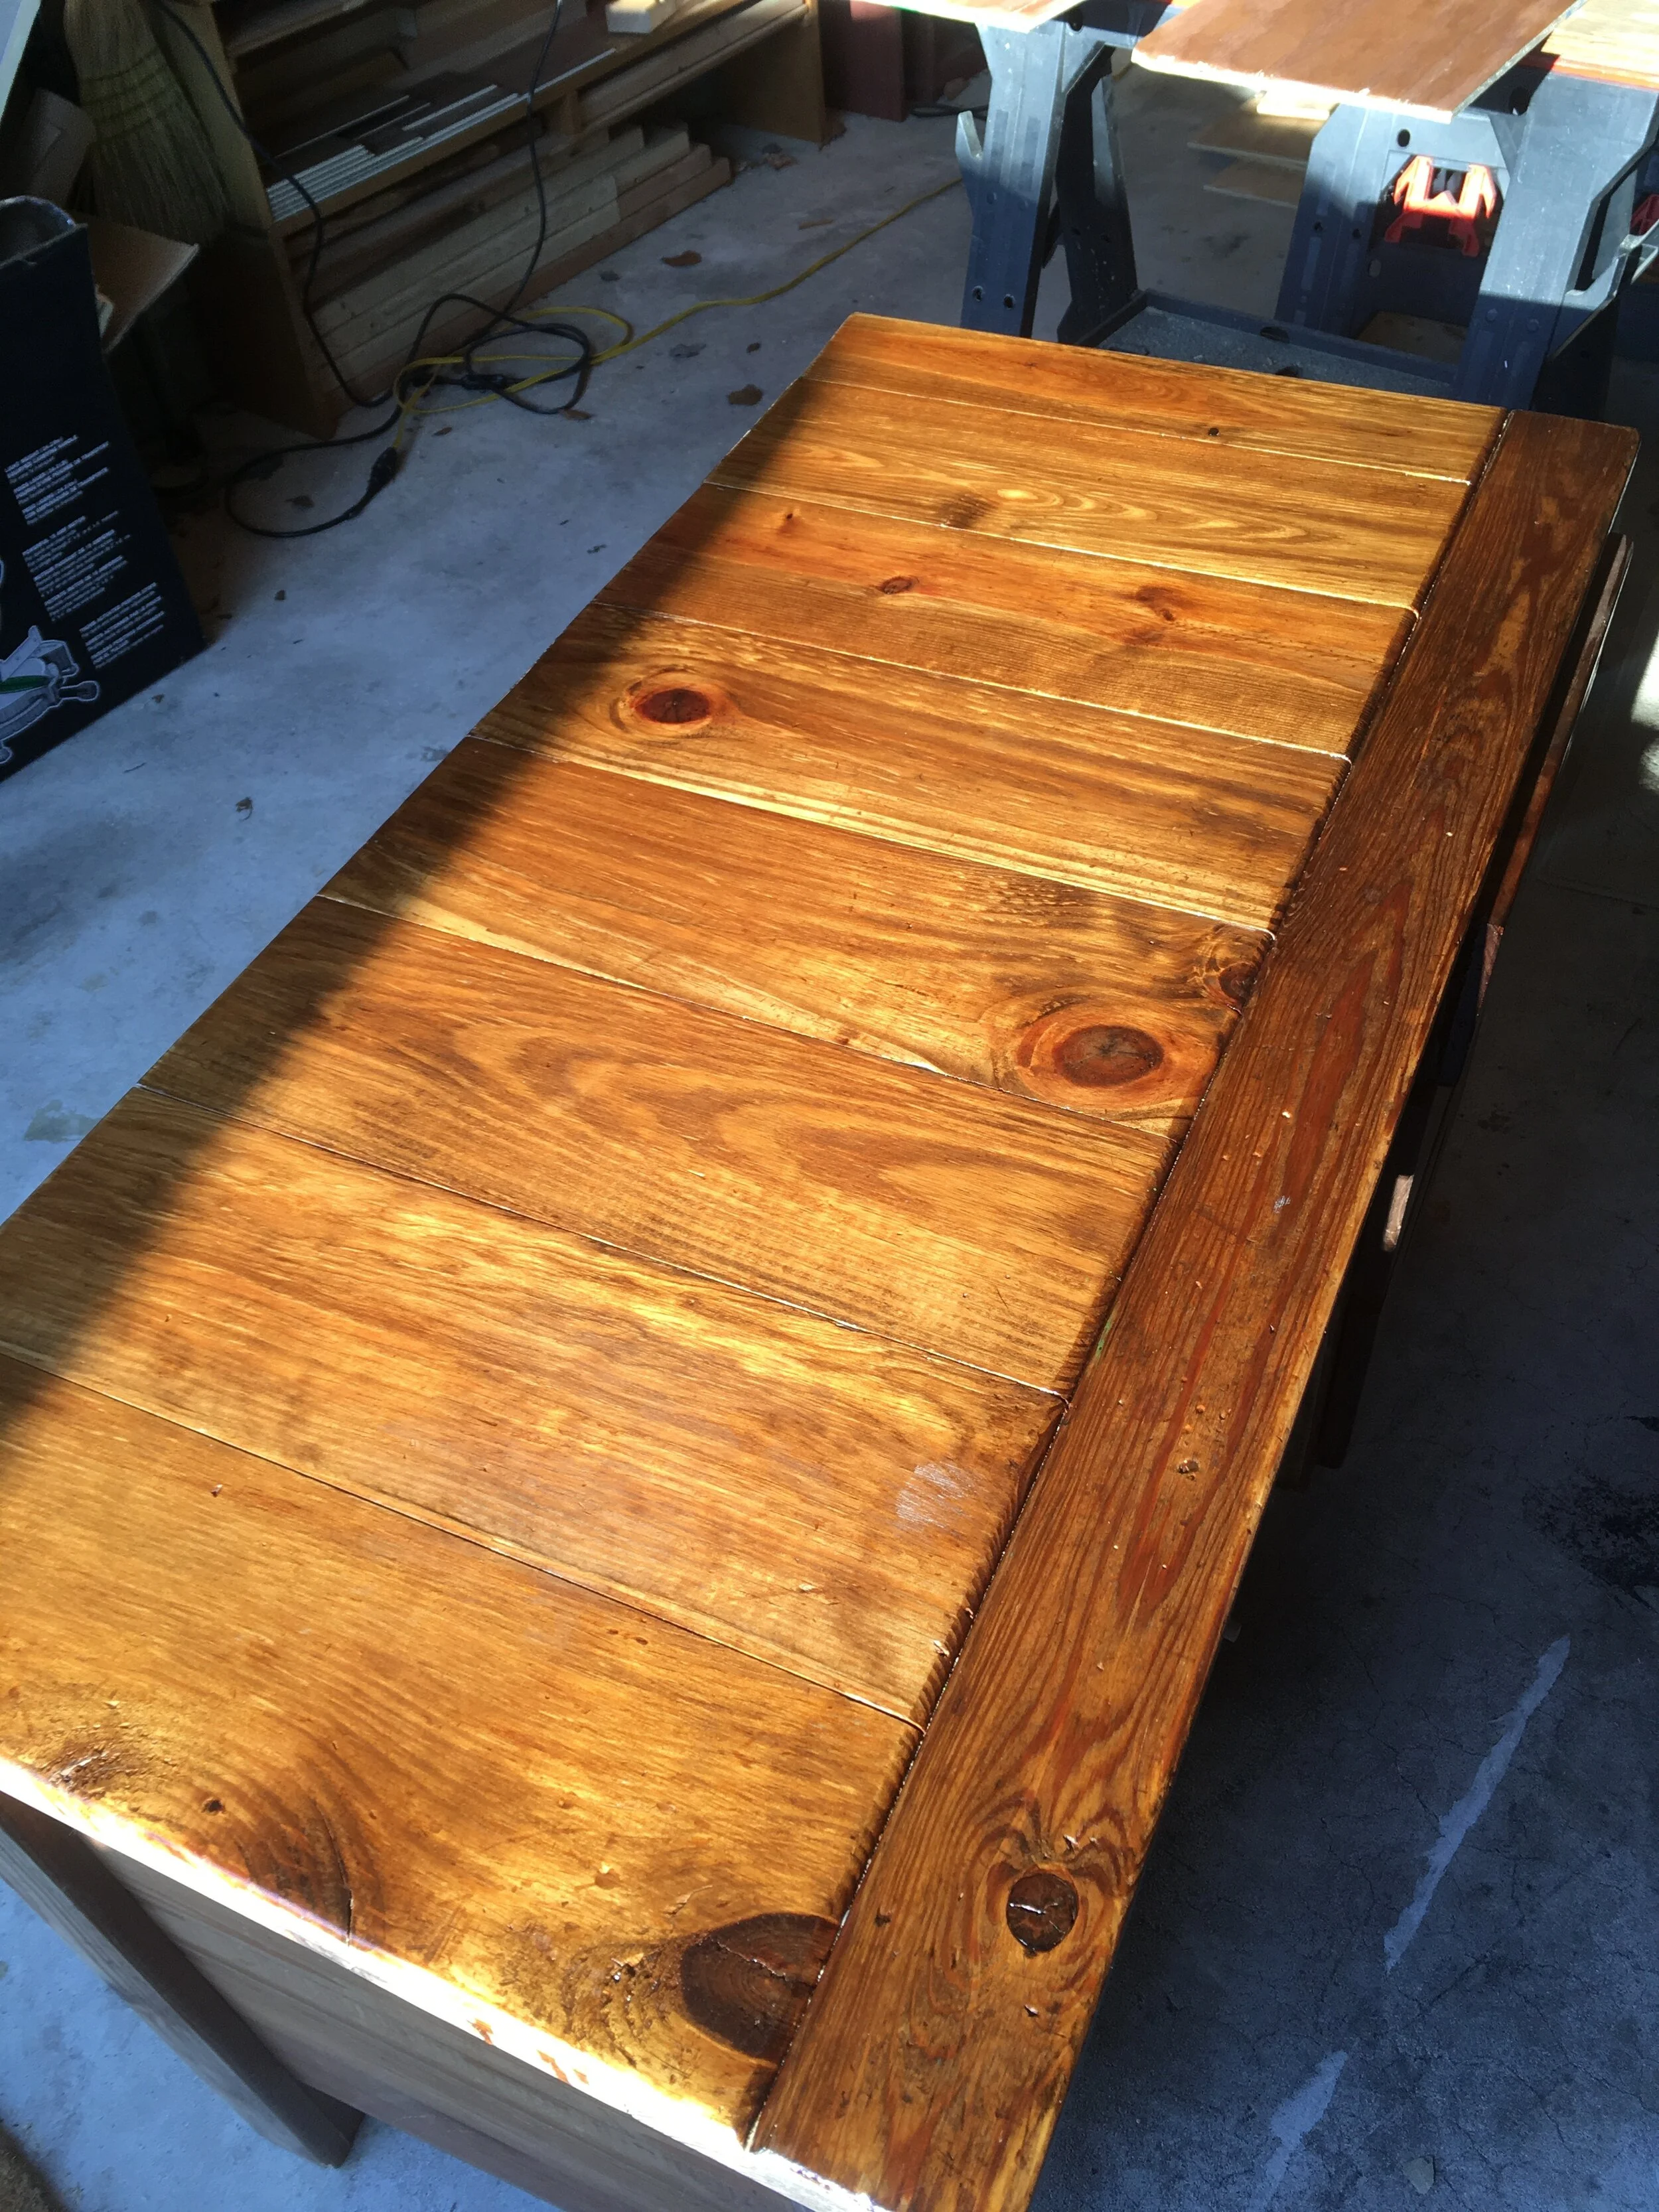
natural wood feel
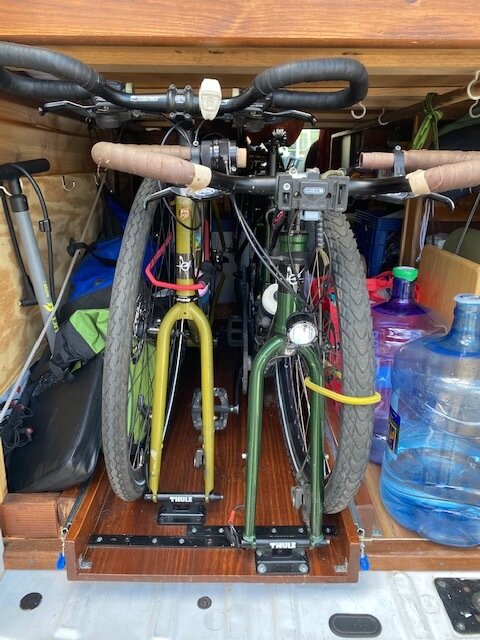
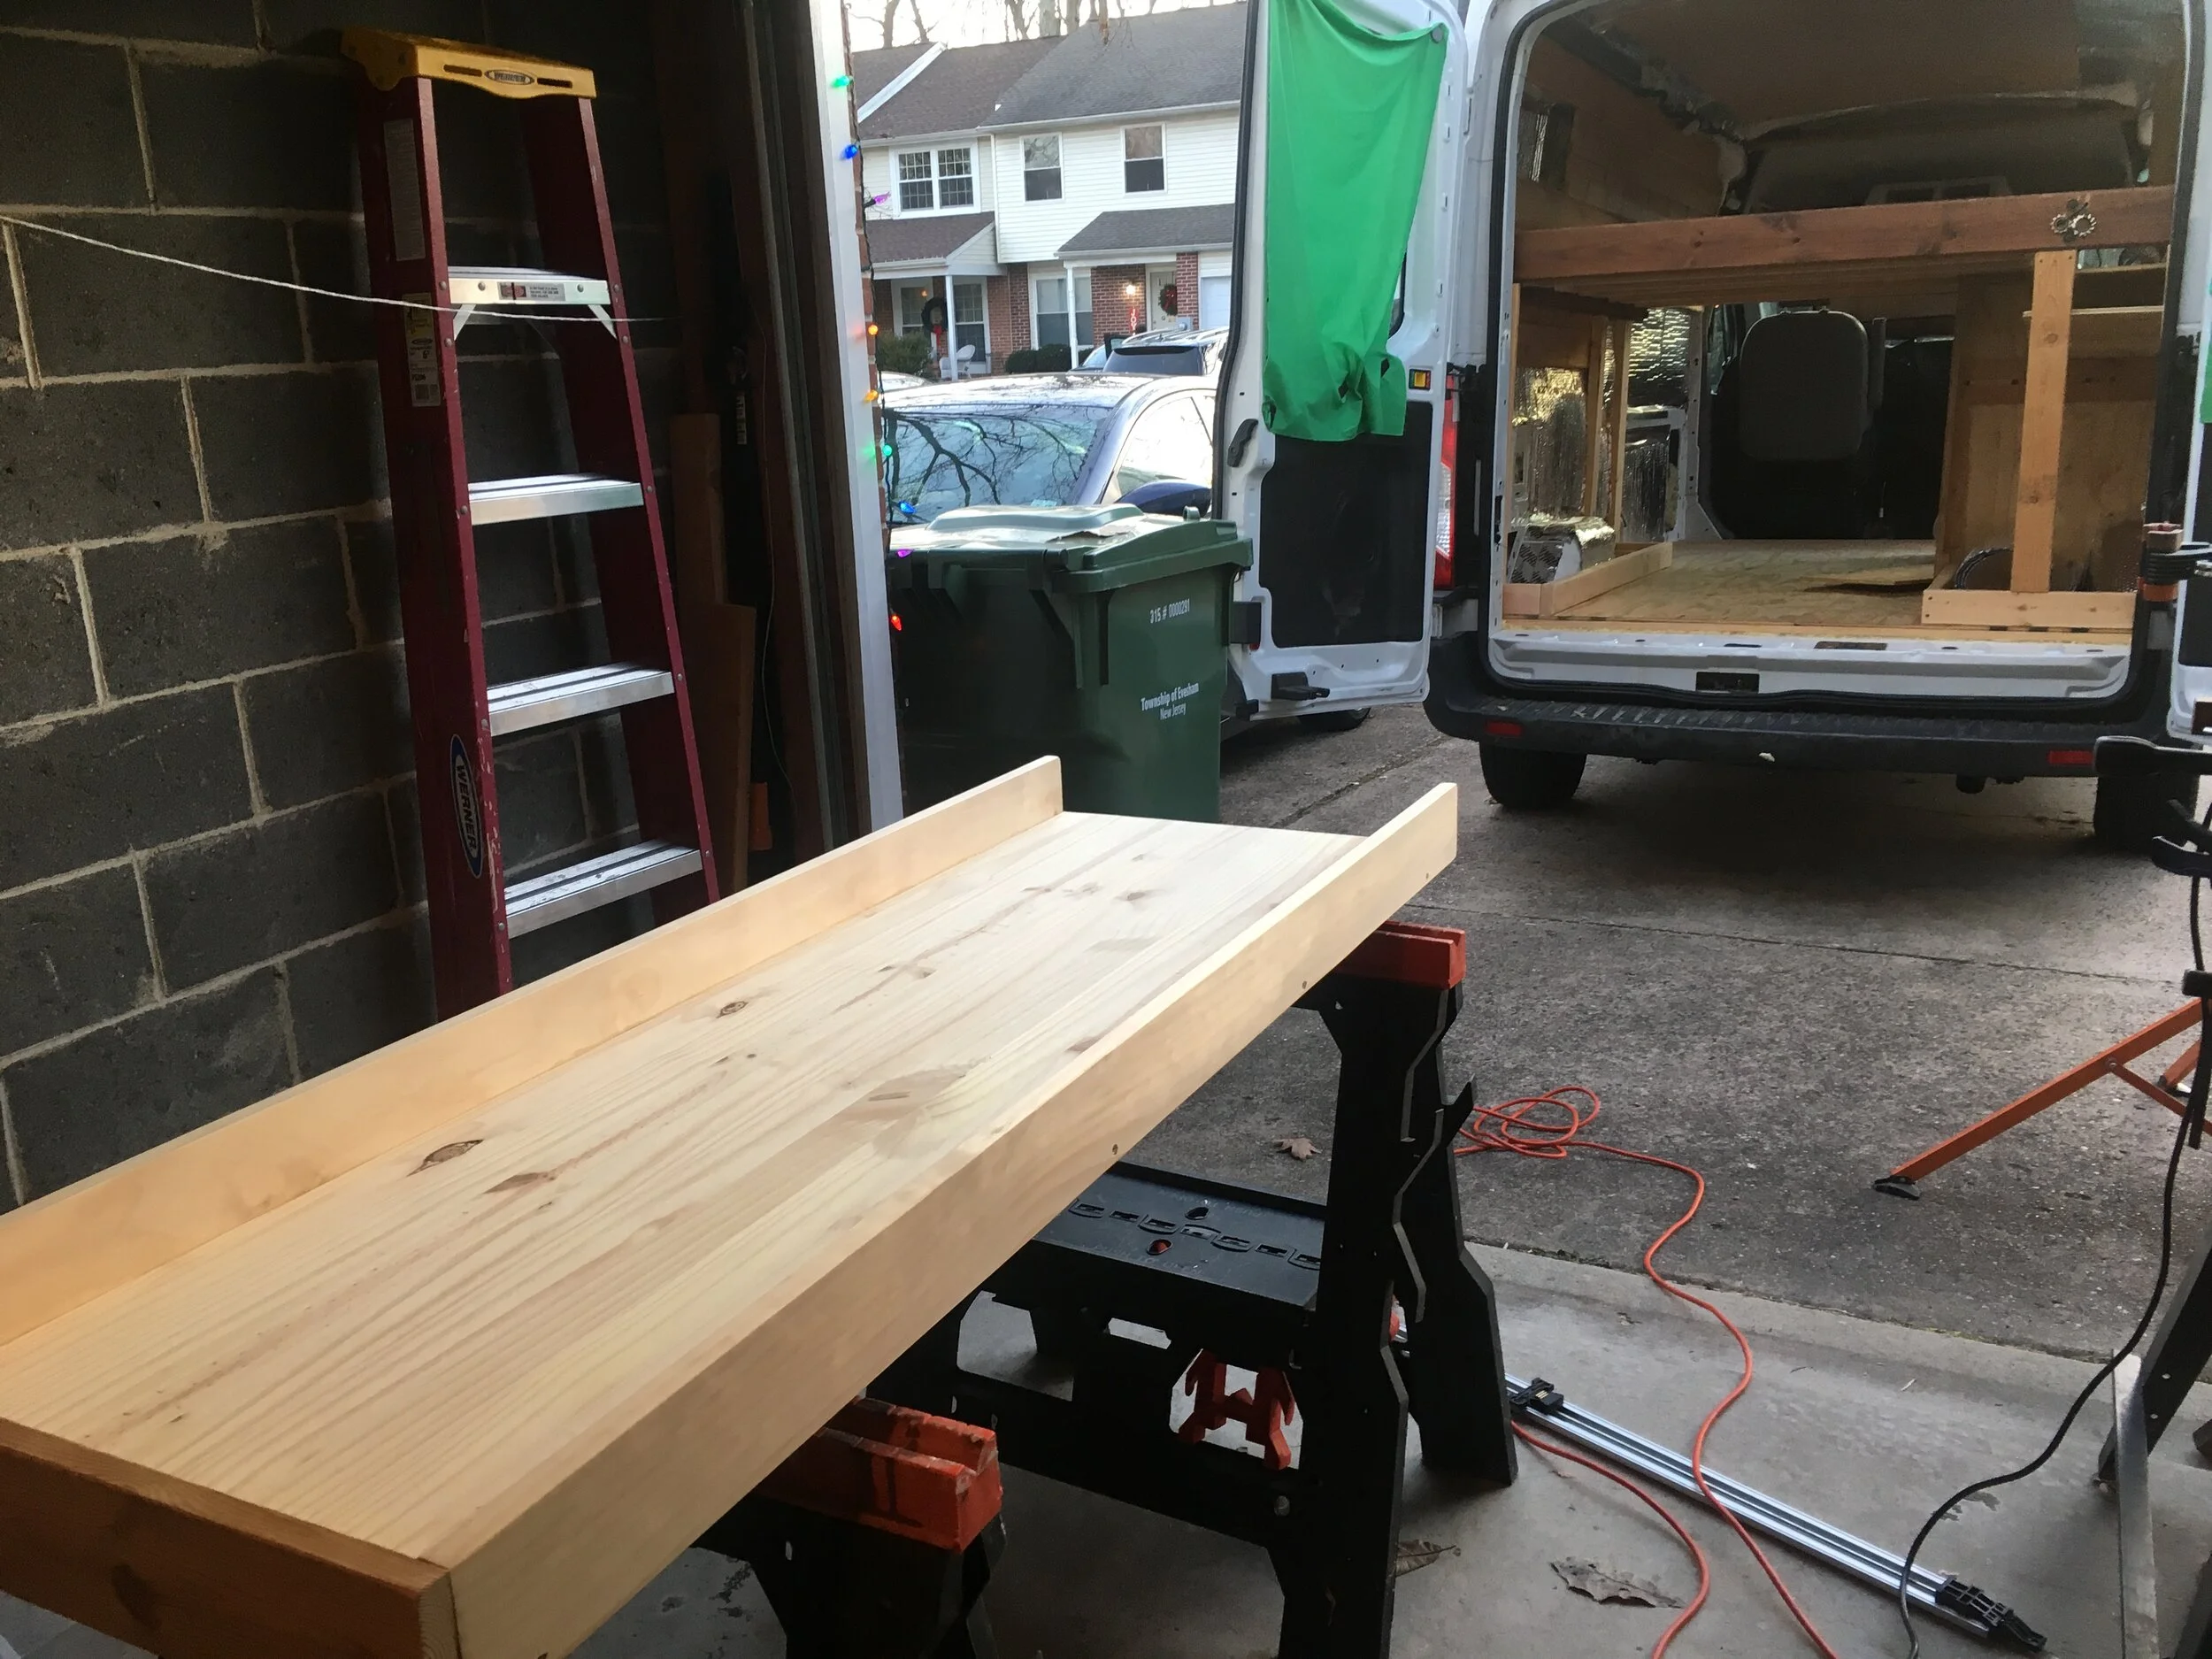
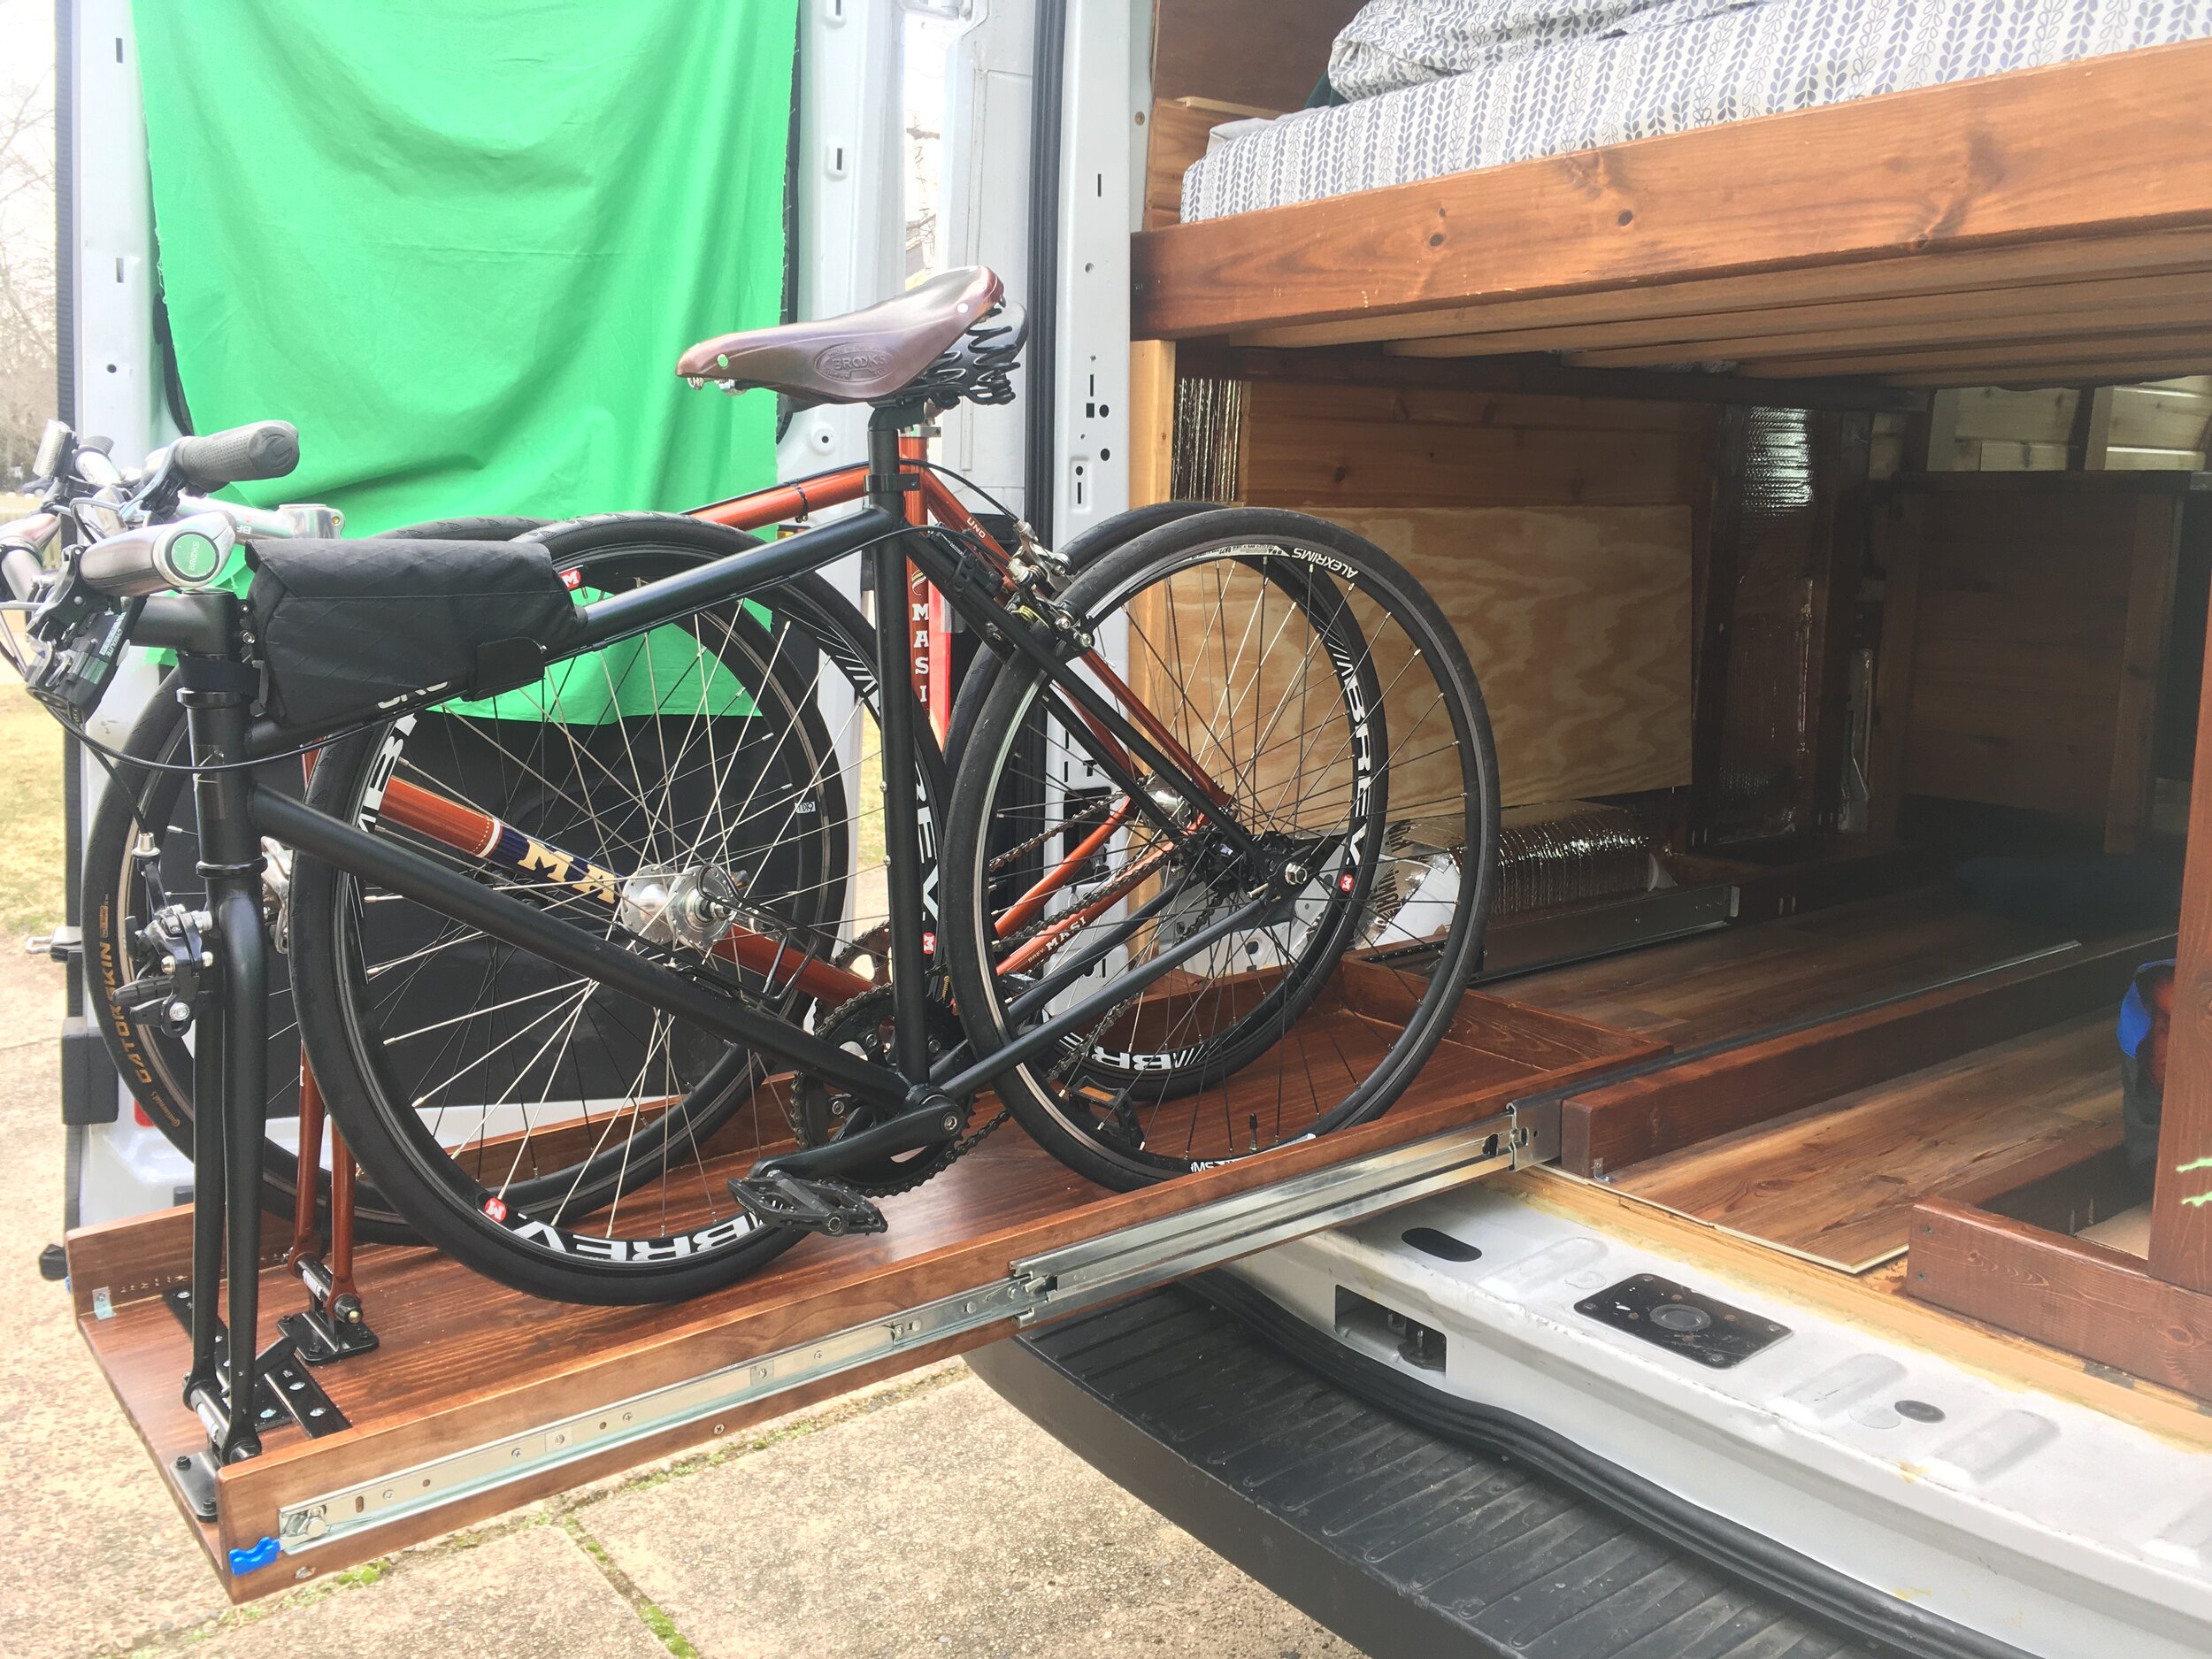
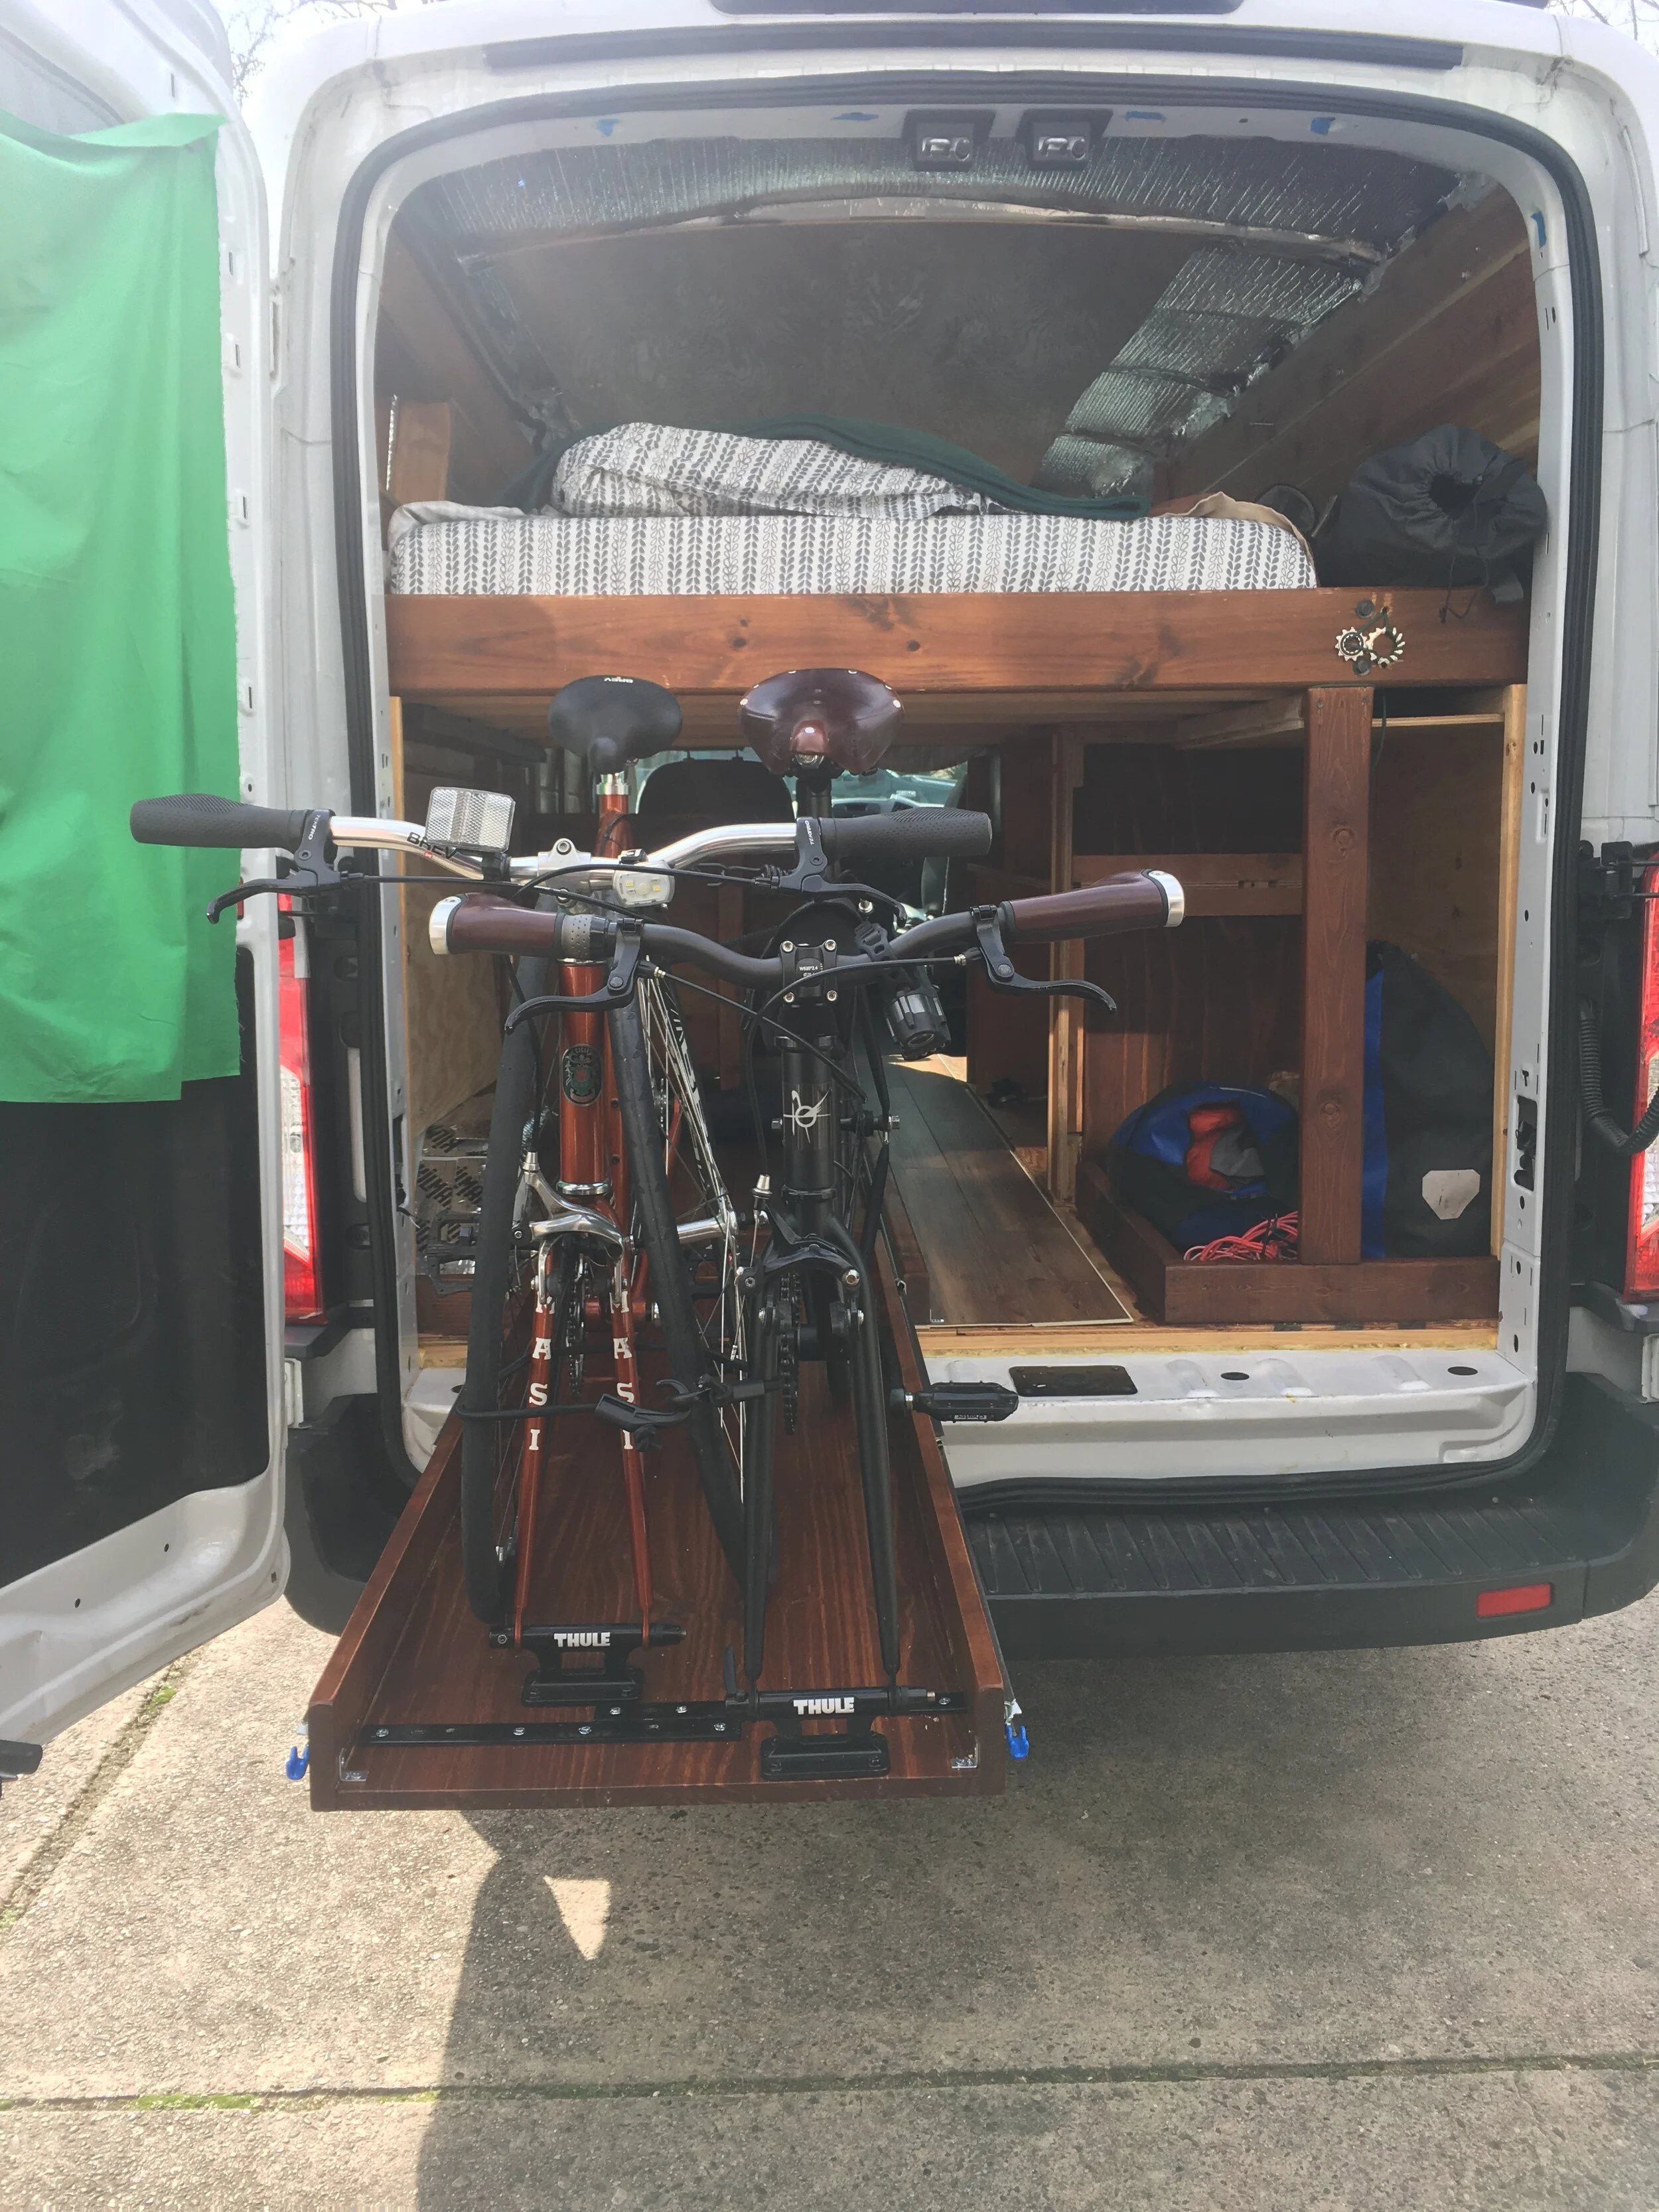
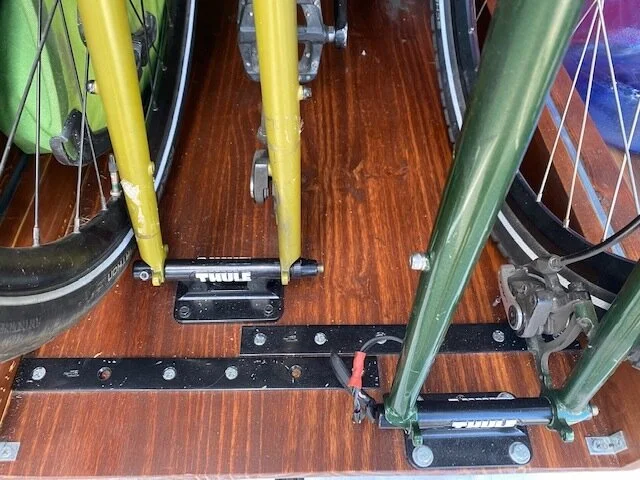
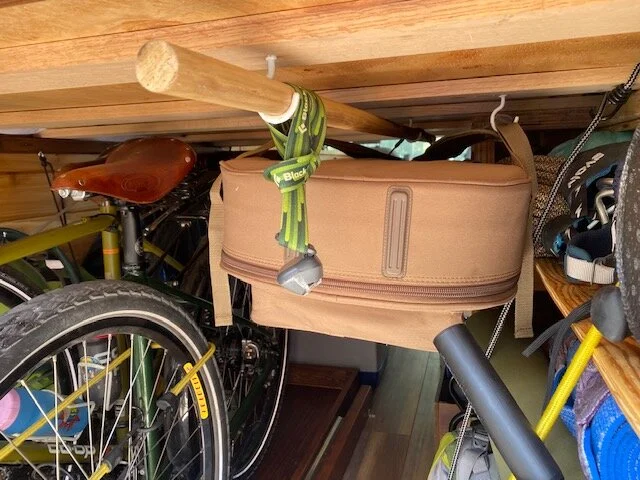
bicycle storage underneath the bed
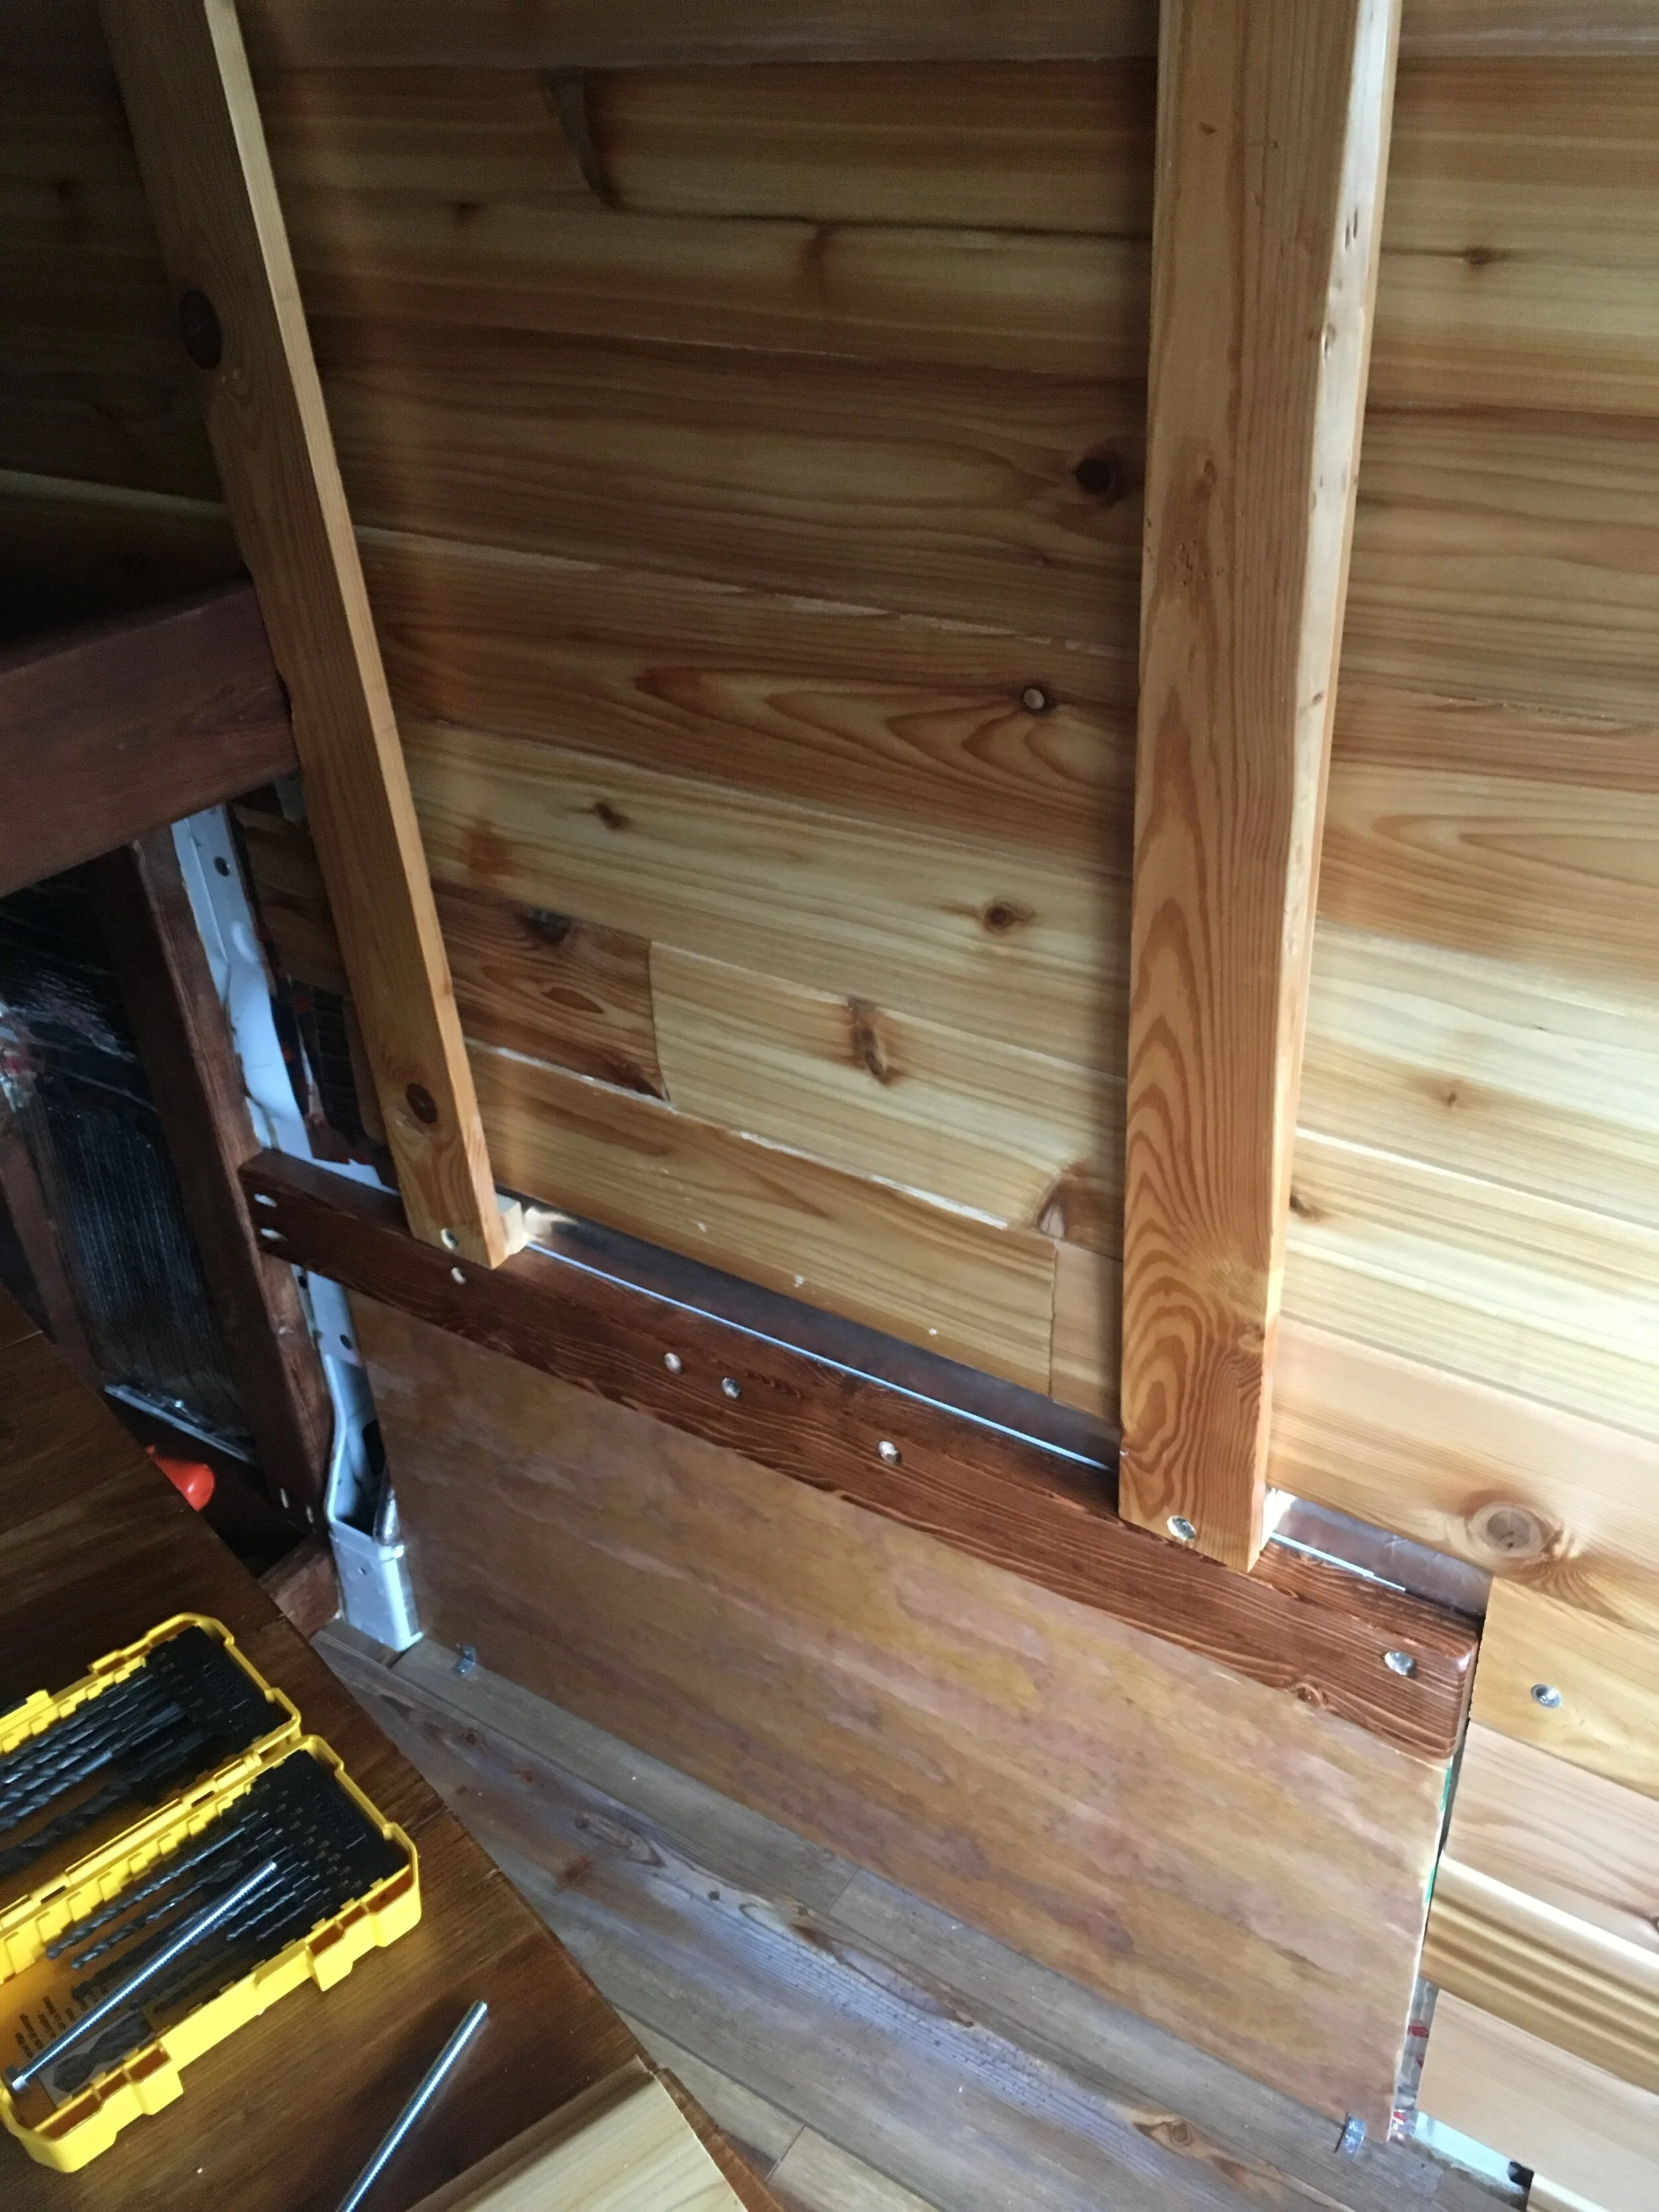
From there, it gets practical. I wanted us to have as much headspace and not feel like everything was closed in, ’cause I’ve seen a lot of builds where they have all the overhead cabinets, but they’re working with a foot and a half of actual headspace from the bed to the seats. I wanted it to feel like a comfy, open home as much as possible. And especially when we started dating, I was like, fuck how can I maximize movable room?
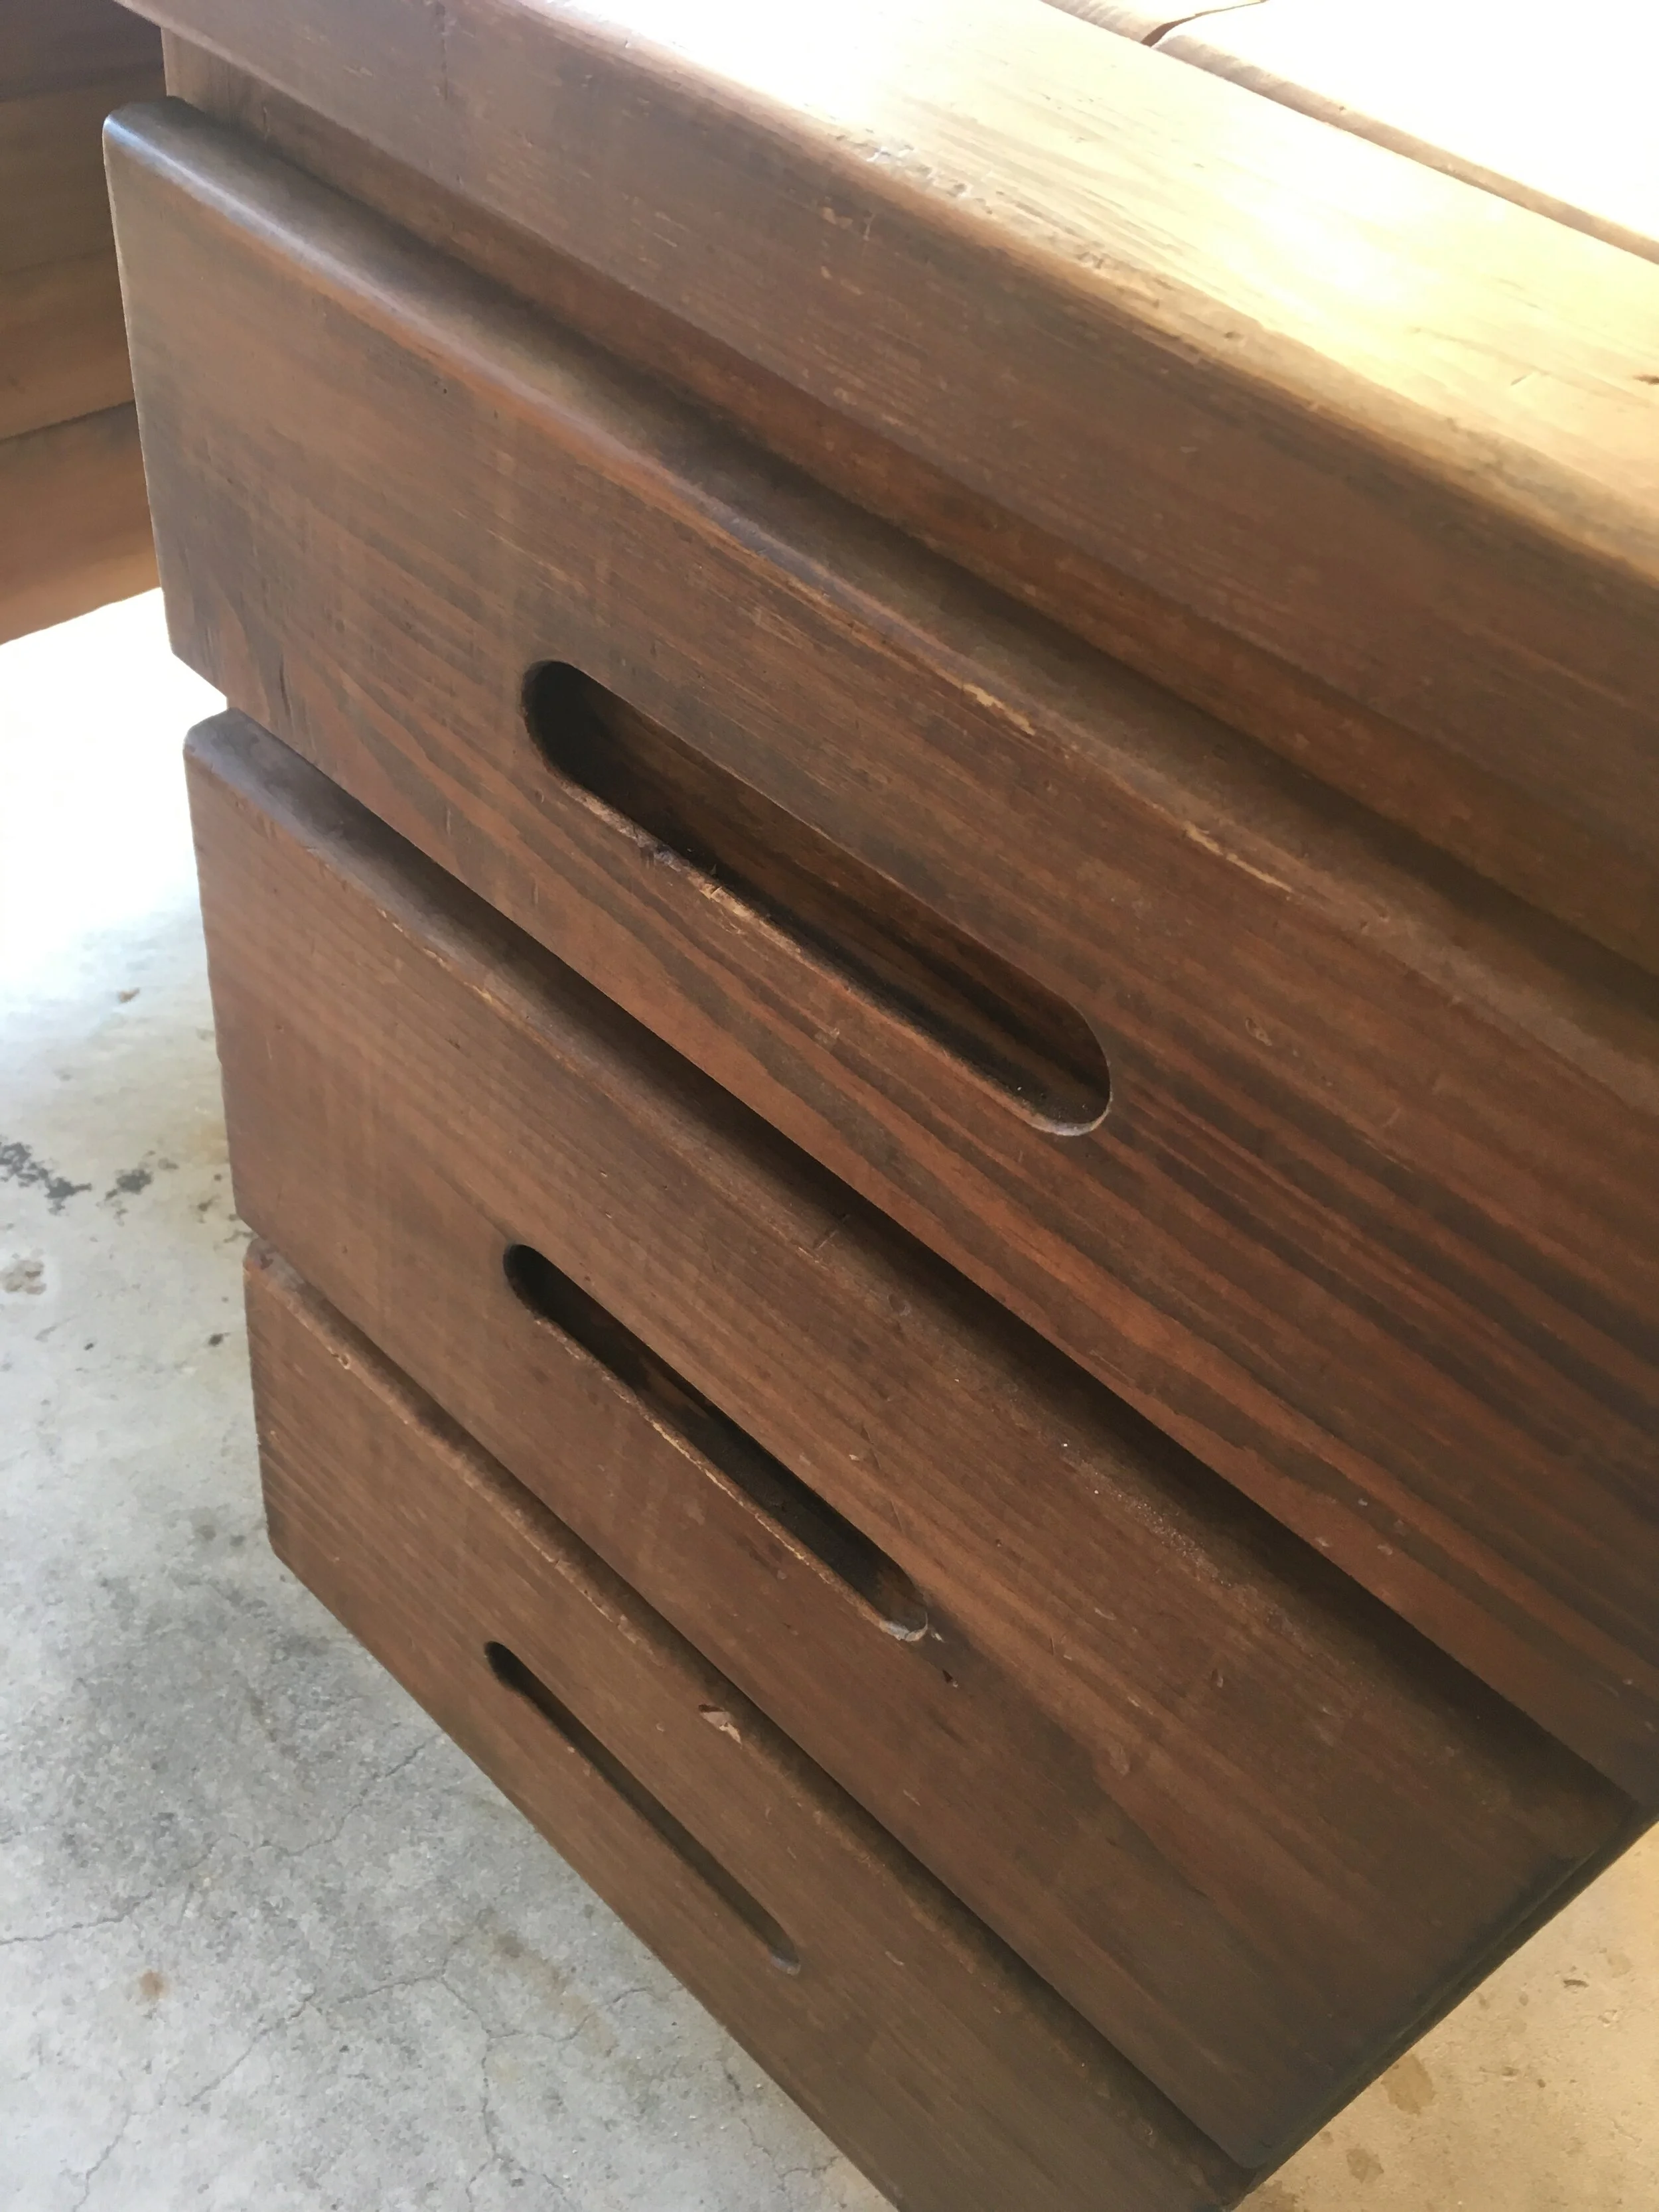
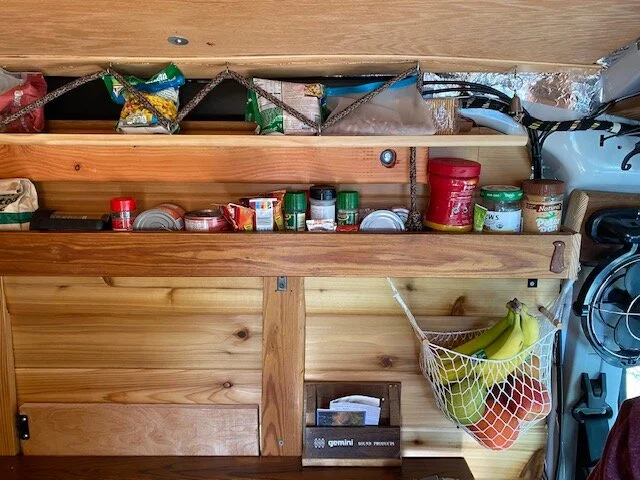
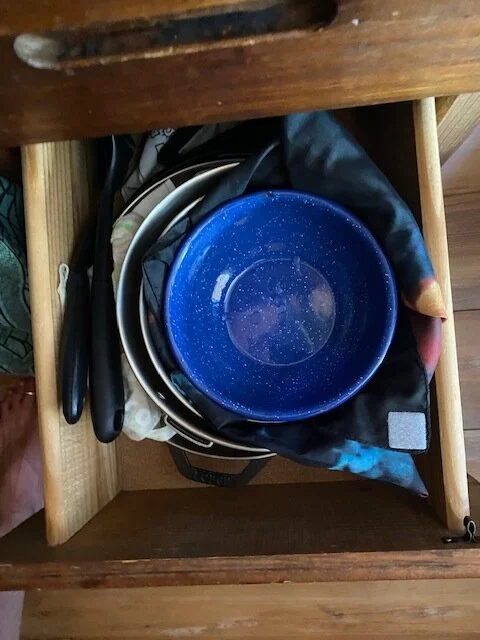
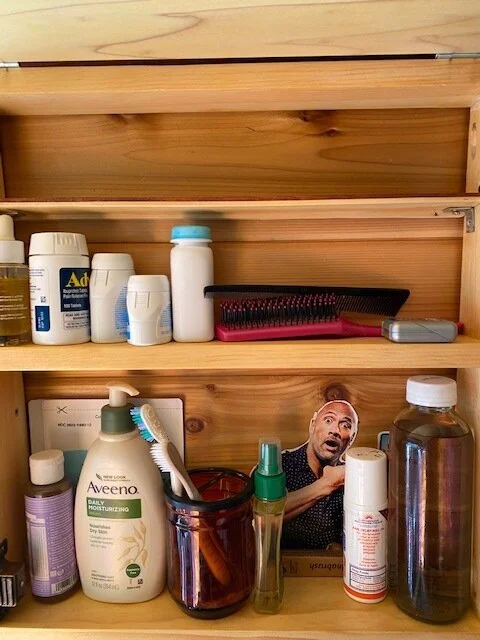
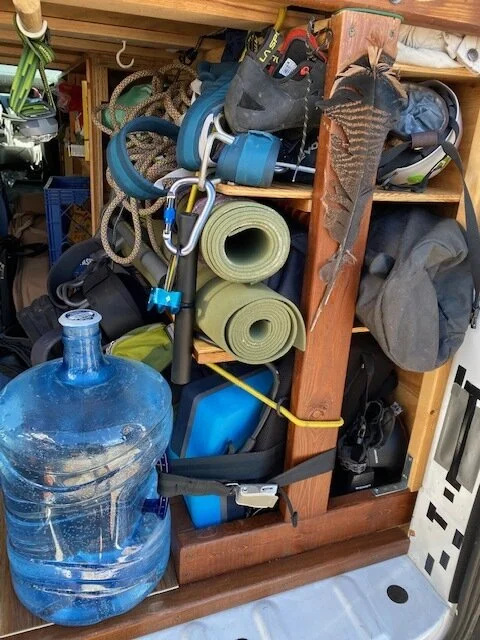
Brooke says: Ah, the joys of dating an amazon. I was apprehensive about the shelves at first. I wasn’t sure what we were gonna fit on them. But we found ways to fit the items to the space. Trying to measure commonly used items or whathaveyou would have driven us both insane.

We didn’t measure, but everything we need found a place.
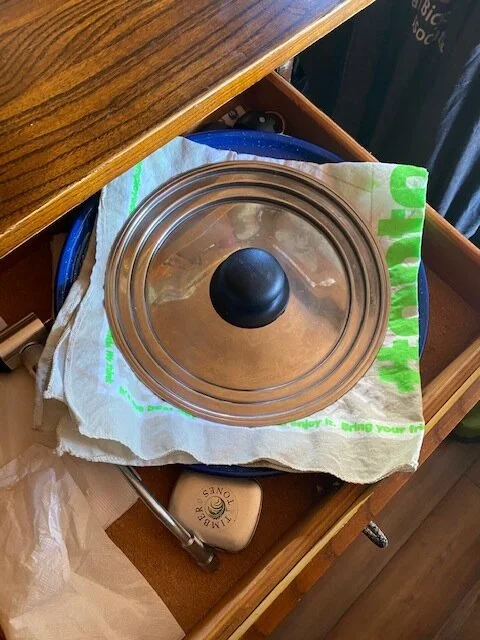
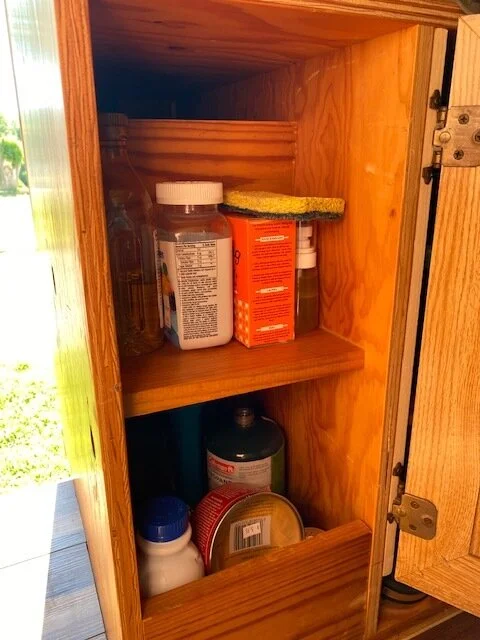
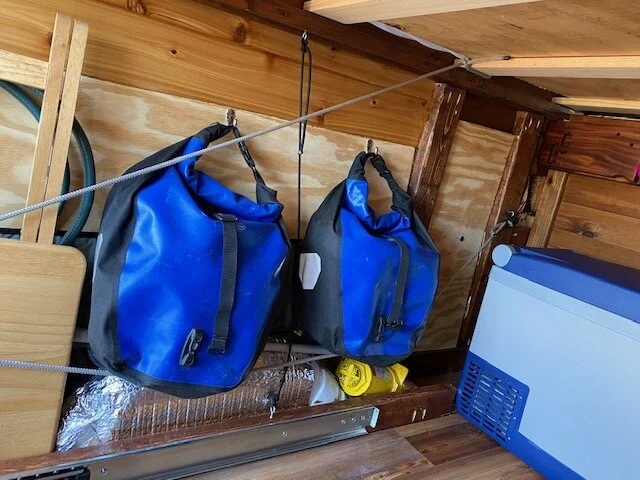
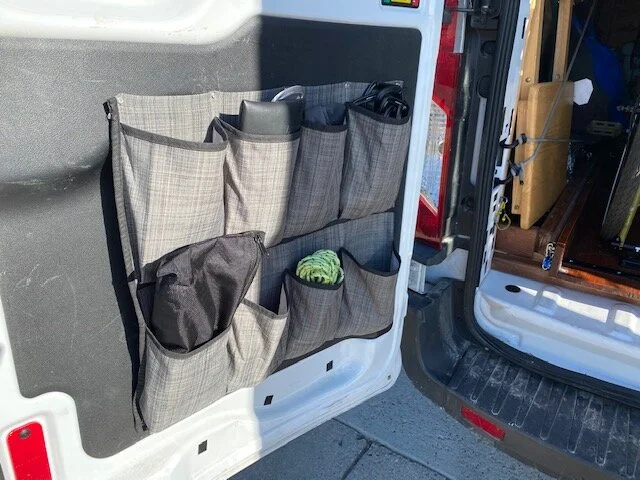
Brooke writes: Same deal with our garage area. Before Doug built it out, I gathered all our outdoor adventure gear and spread it out on the floor and tried to visualize the ideal storage solution. Turns out, there really isn’t one. Once again, we didn’t measure, but everything we need found a place. The last and in my opinion most beautiful shelf is this one right here:
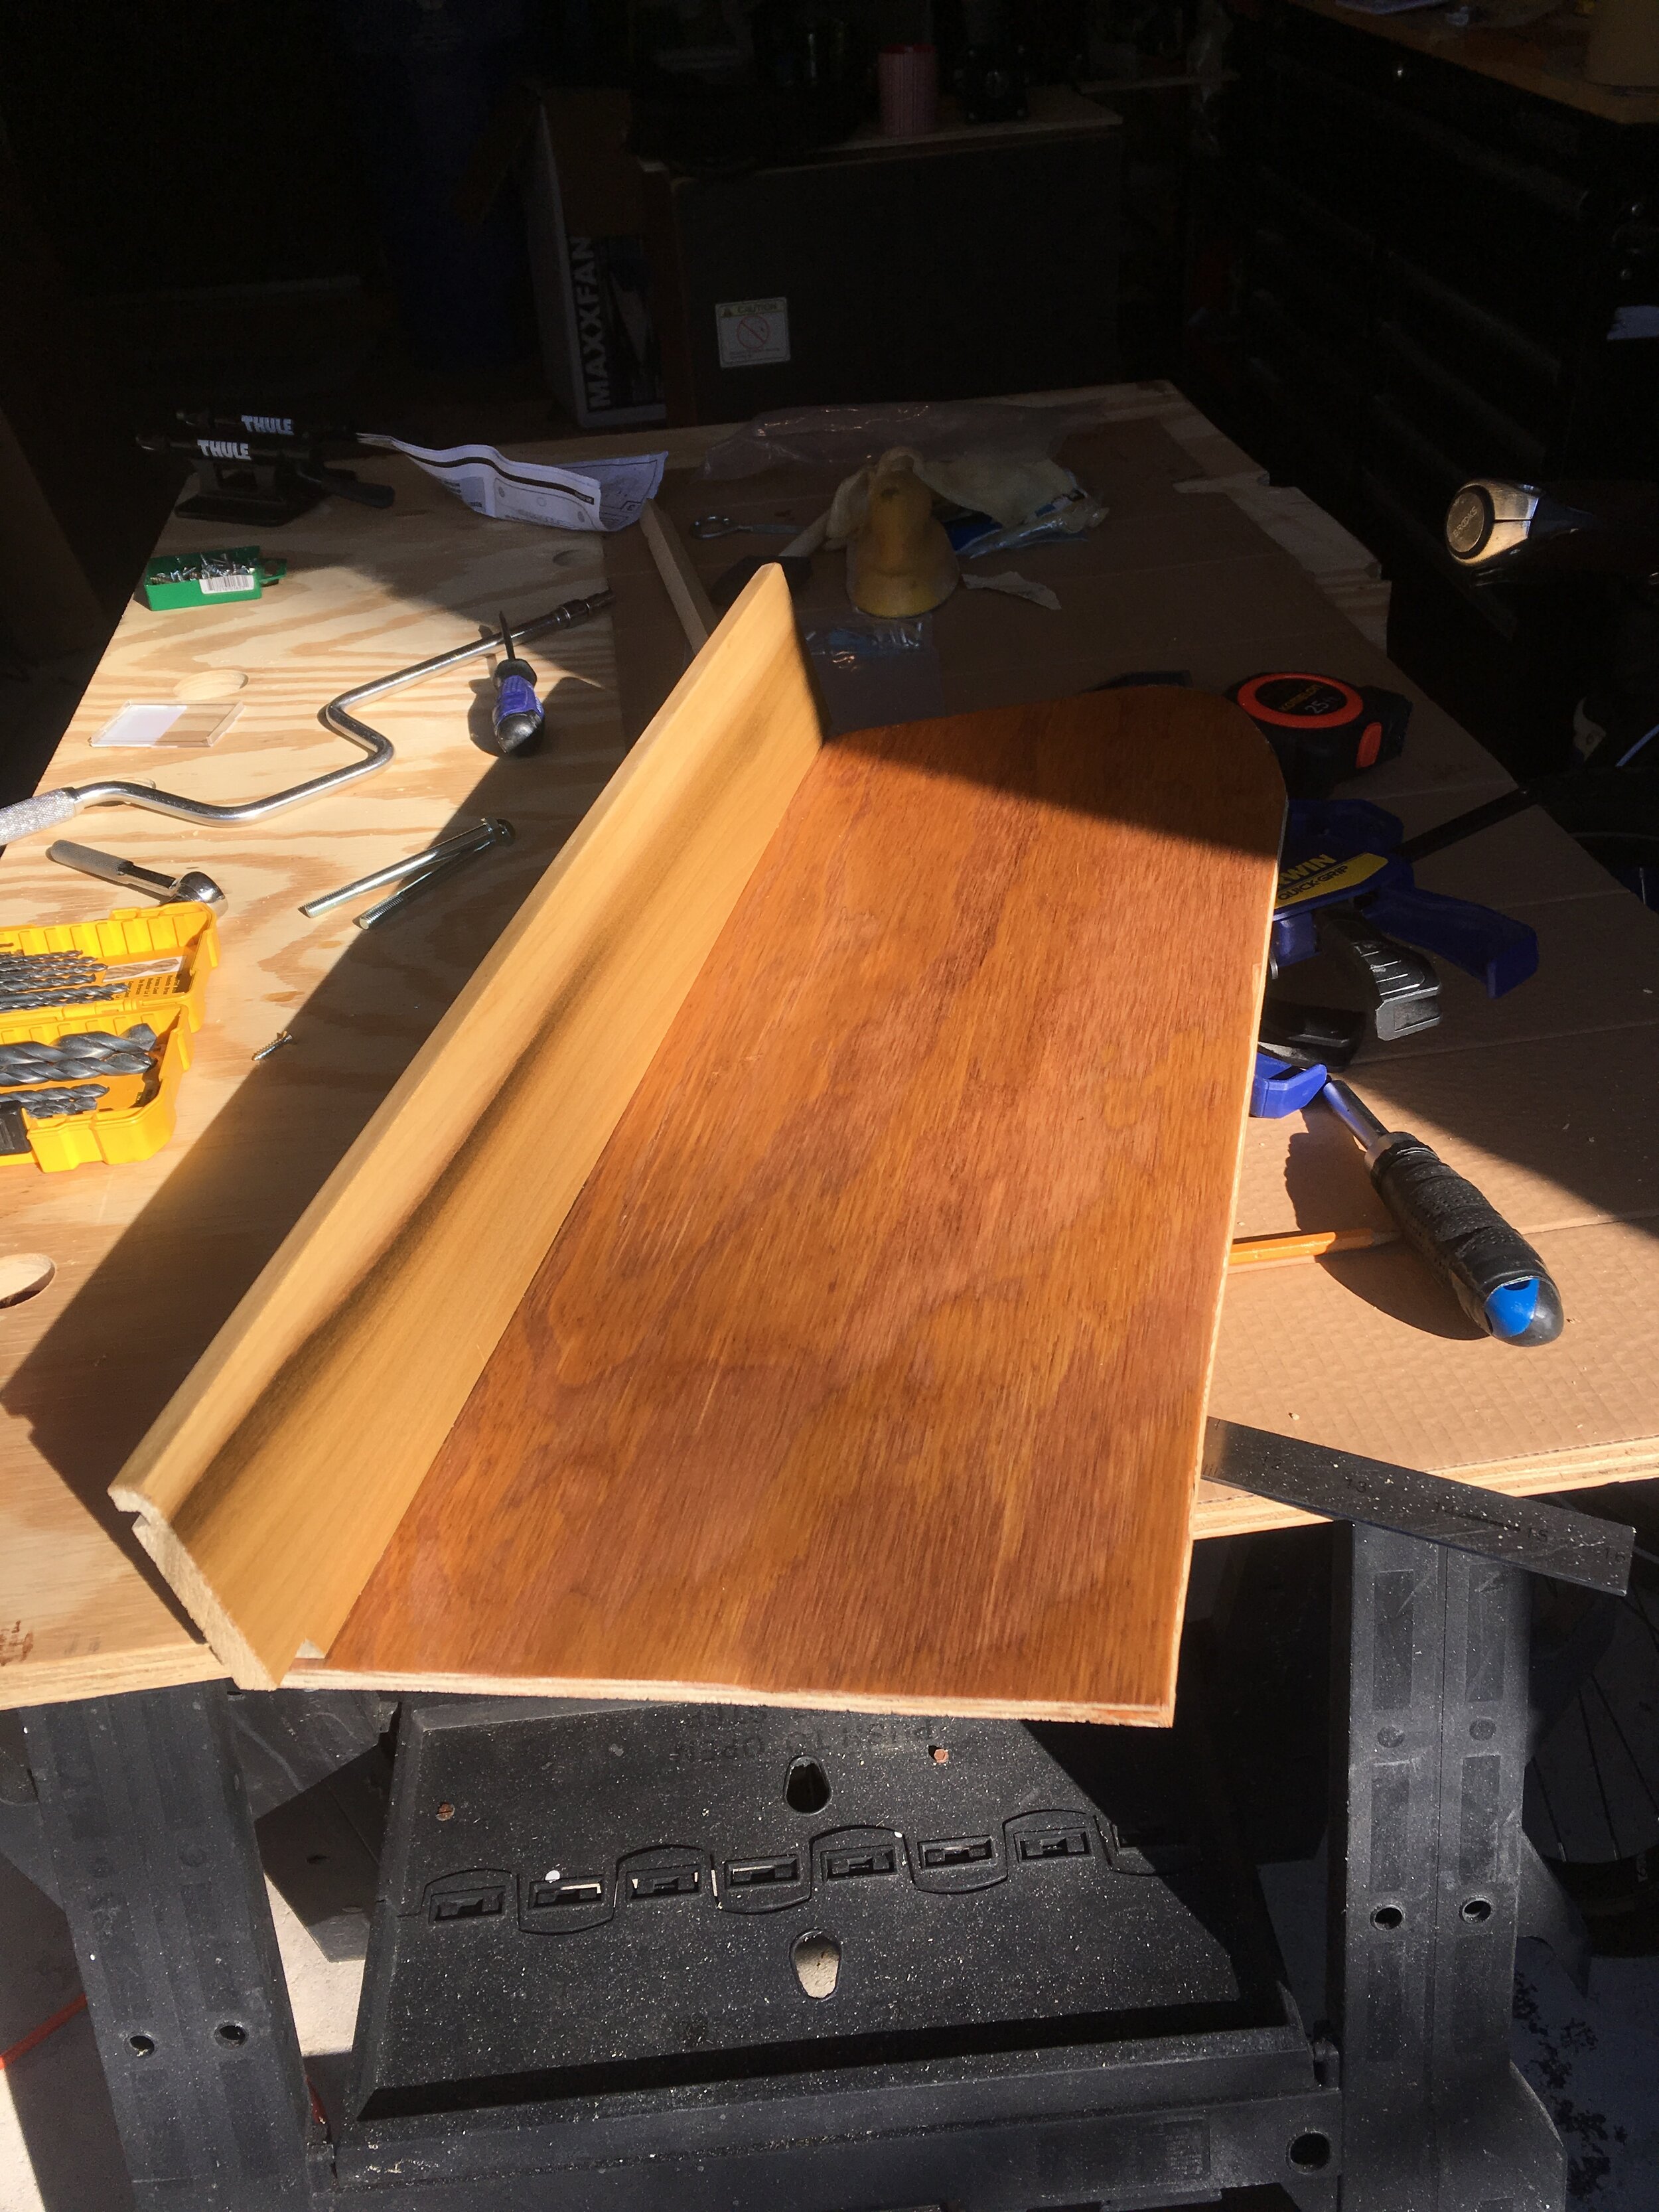

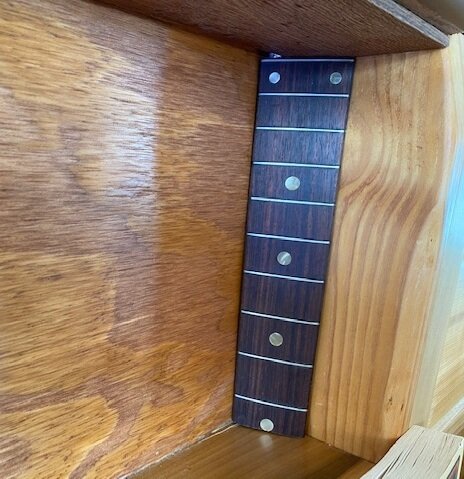
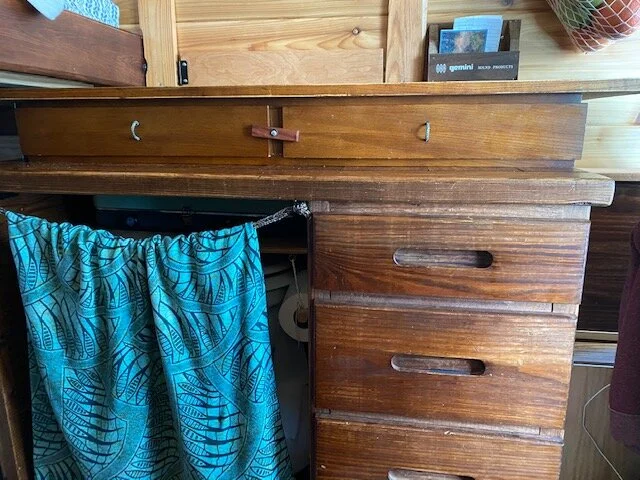
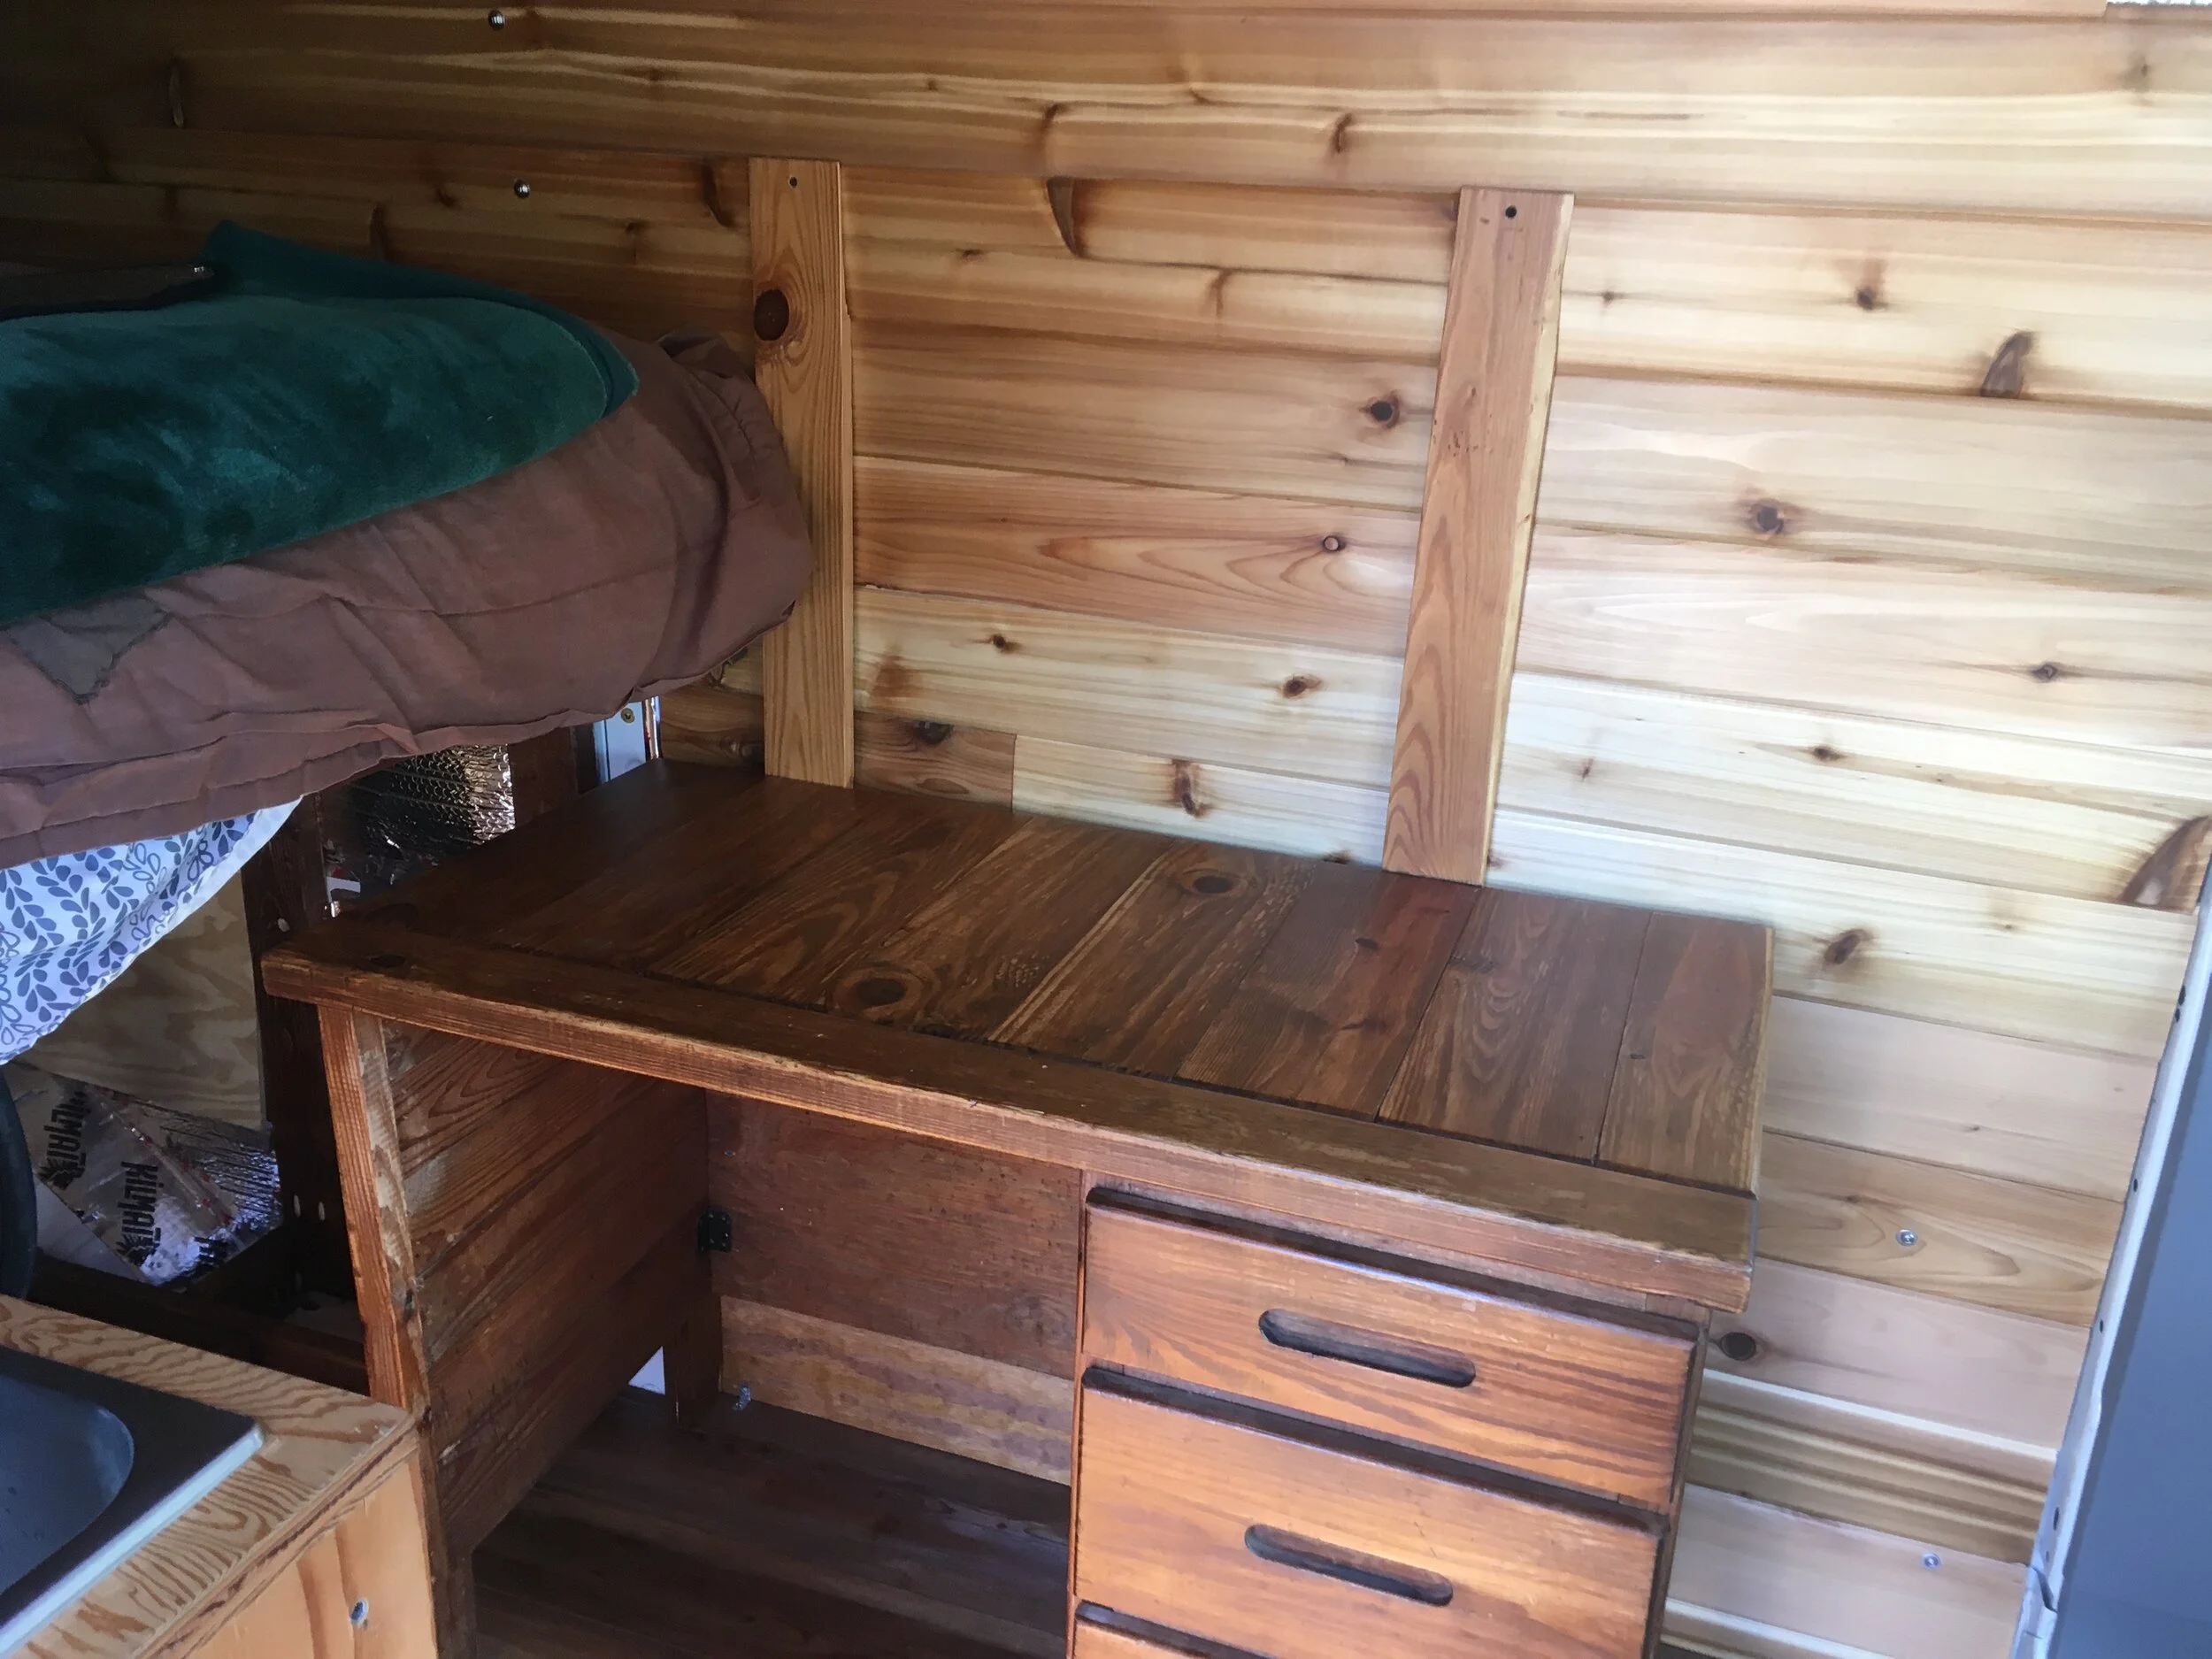
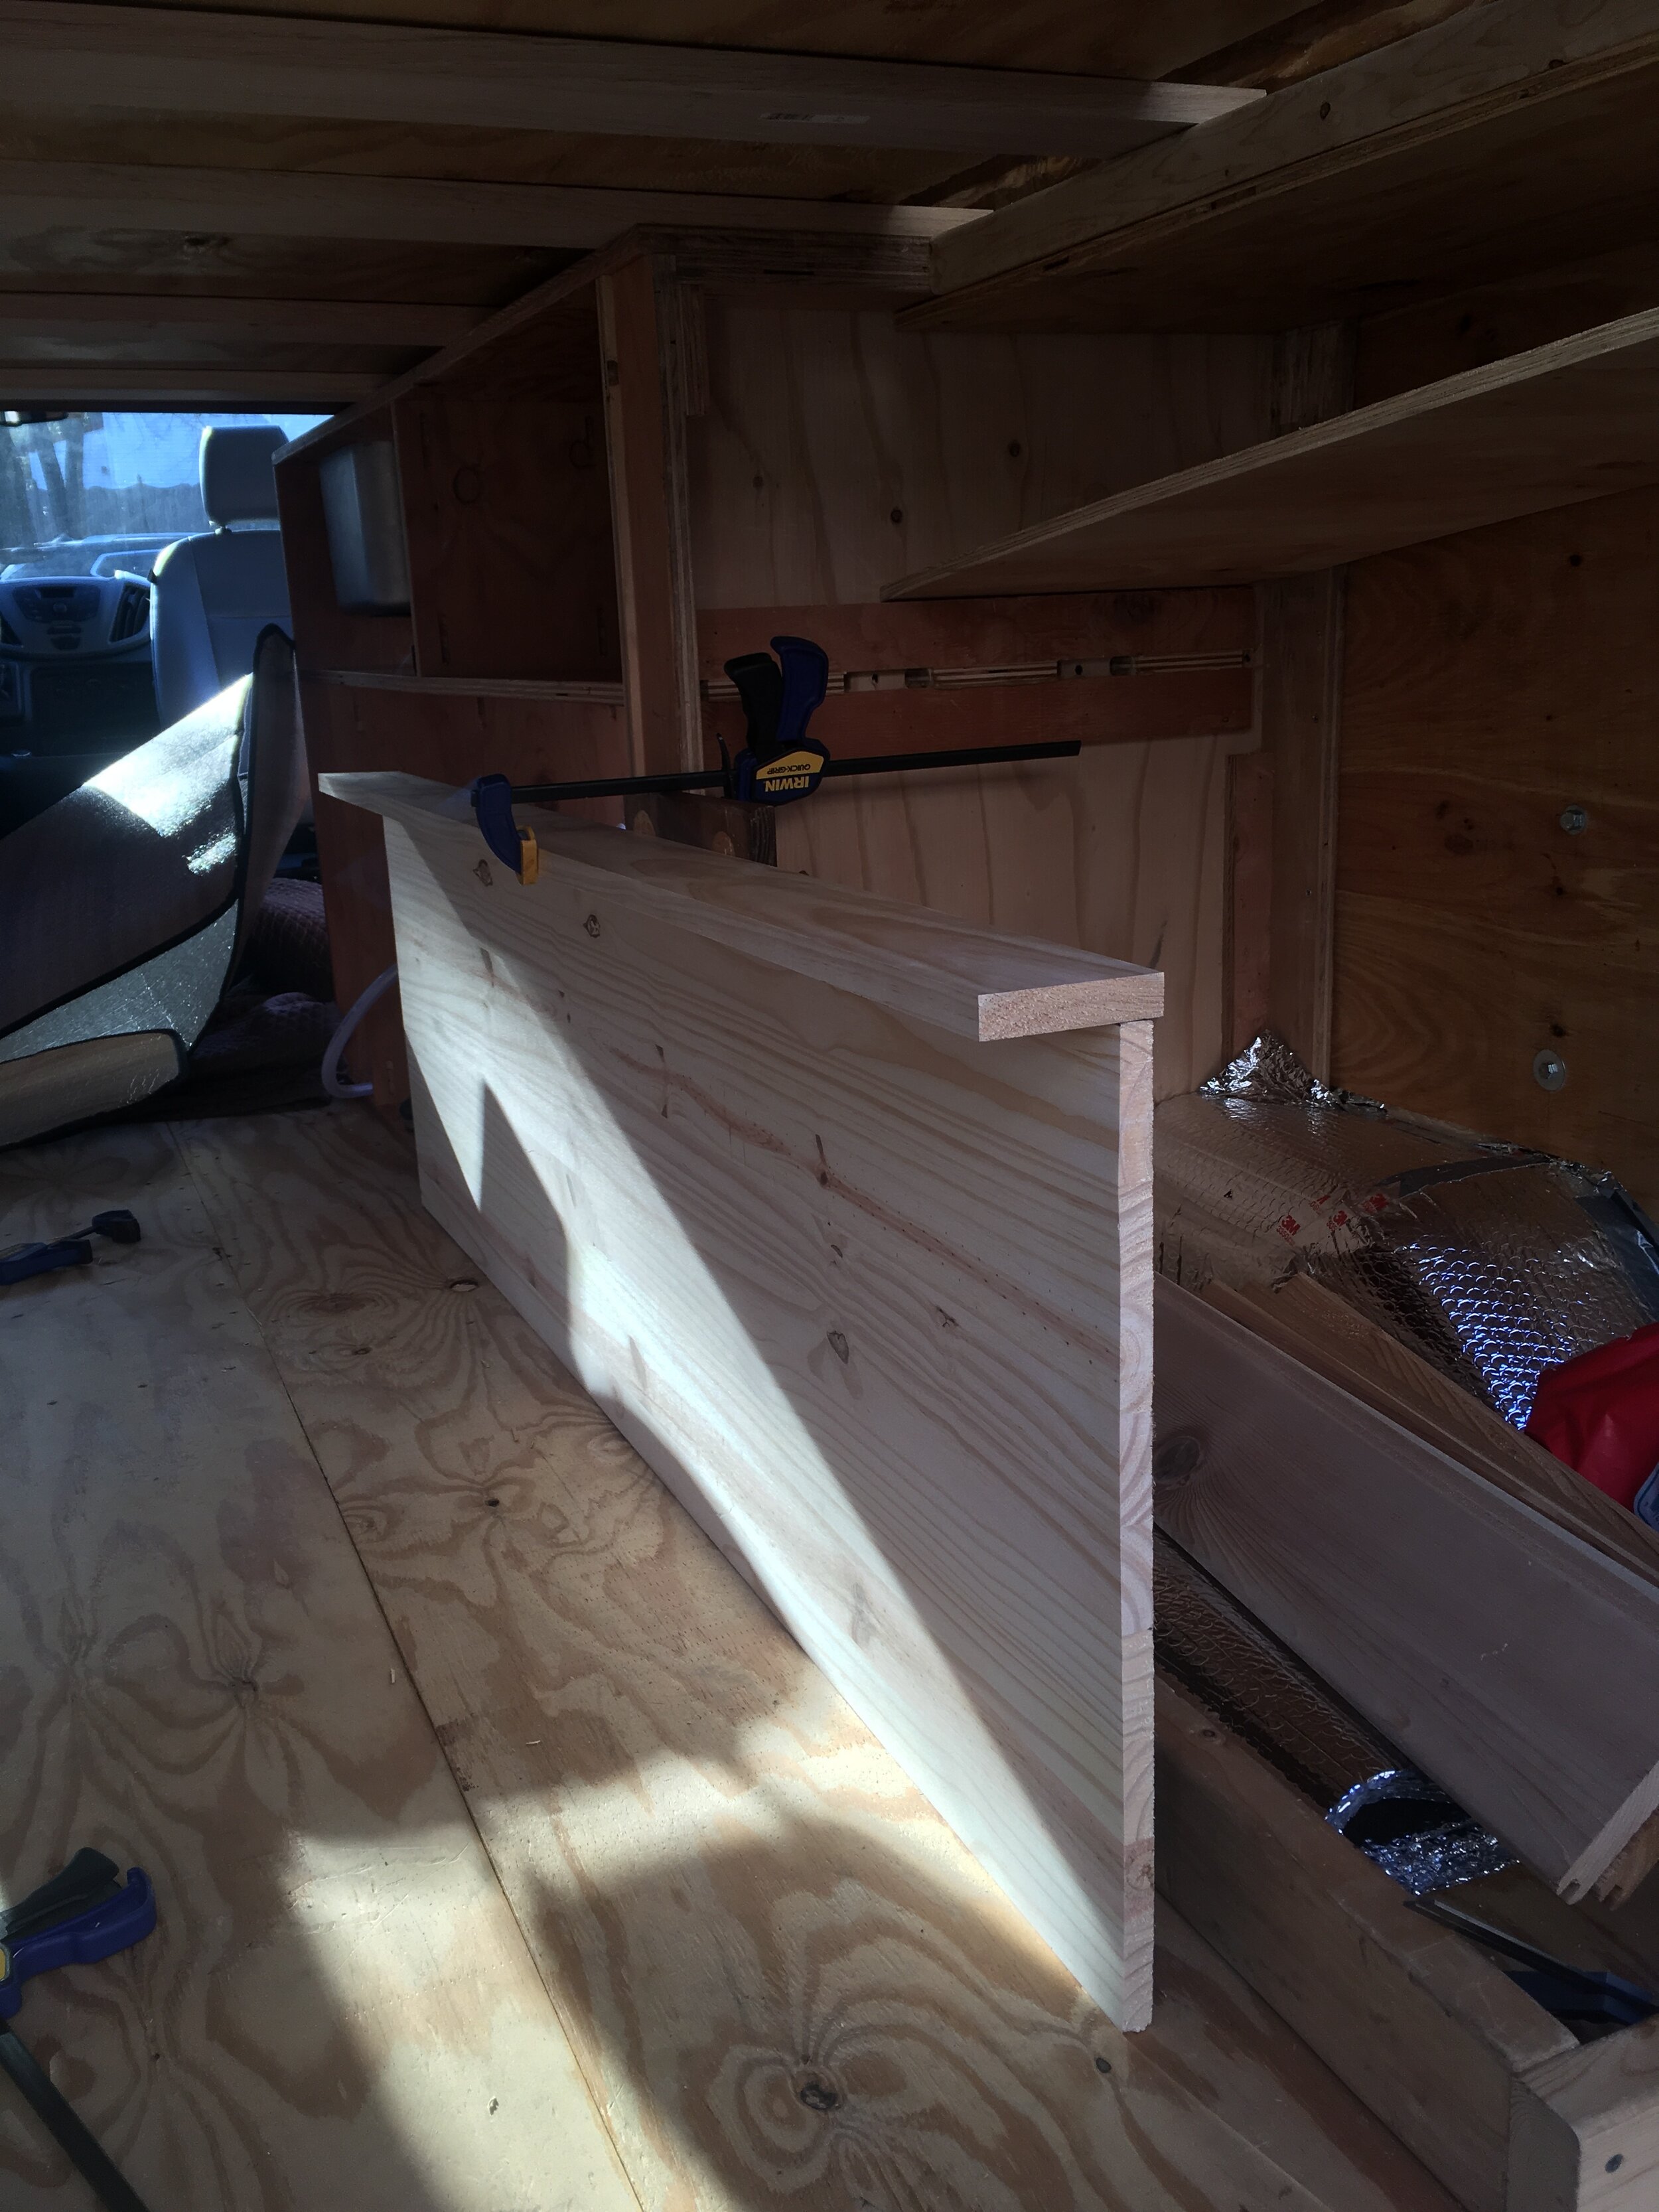
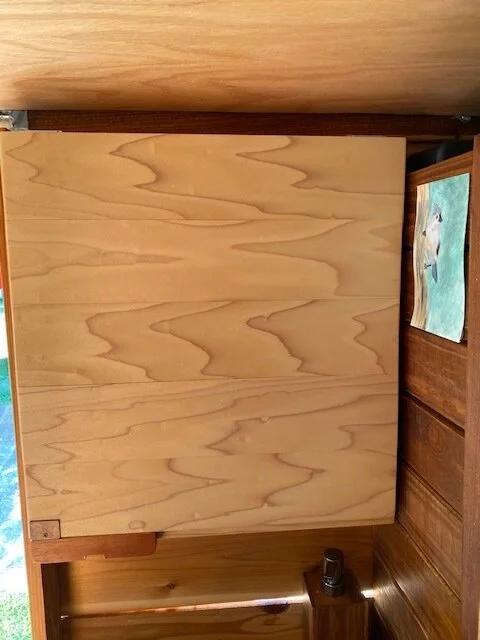
Doug explains: I just wanted you to have a little spot to put your stuff next to you while you were sleeping. I wanted to use part of that back void for a purpose. It’s good enough for a book or a cup of coffee. So there’s no insulation behind that shelf.
Brooke concludes: Admittedly there’s not a whole lot of coffee drinking going on in bed, and anything I put on this shelf would fall off as soon as we get moving, but part of a successful van build is staying open to possibilities for the space. Who knows, maybe in Season 3 we’ll figure out a function for this shelf that’s totally integral and we’ll wonder how we ever got along without it. Or maybe it’ll always just be a beautiful place to put my Nalgene. That’s good enough for me.